

Build with AI
Herd lets you go from an idea to a running Laravel application with a single prompt. Describe what you want to build, pick a starter kit and a model, and Herd creates the application and hands it to a coding agent that builds your idea in the background. Before you start, connect an AI provider or pick one of the free opencode models that ship with Herd.Creating a new application from a prompt
You can open the new application window in several ways:- Select “New Application” from the Herd menu bar icon.
- Press the global “Create New Site” shortcut that you can set up in the shortcut settings.
- Press
⌘Nor click the plus button in the Applications window. - Use the prompt field at the top of the Applications dashboard.
.test domain for your name is still available. Pick a model and click “Build” or press ⌘↩.
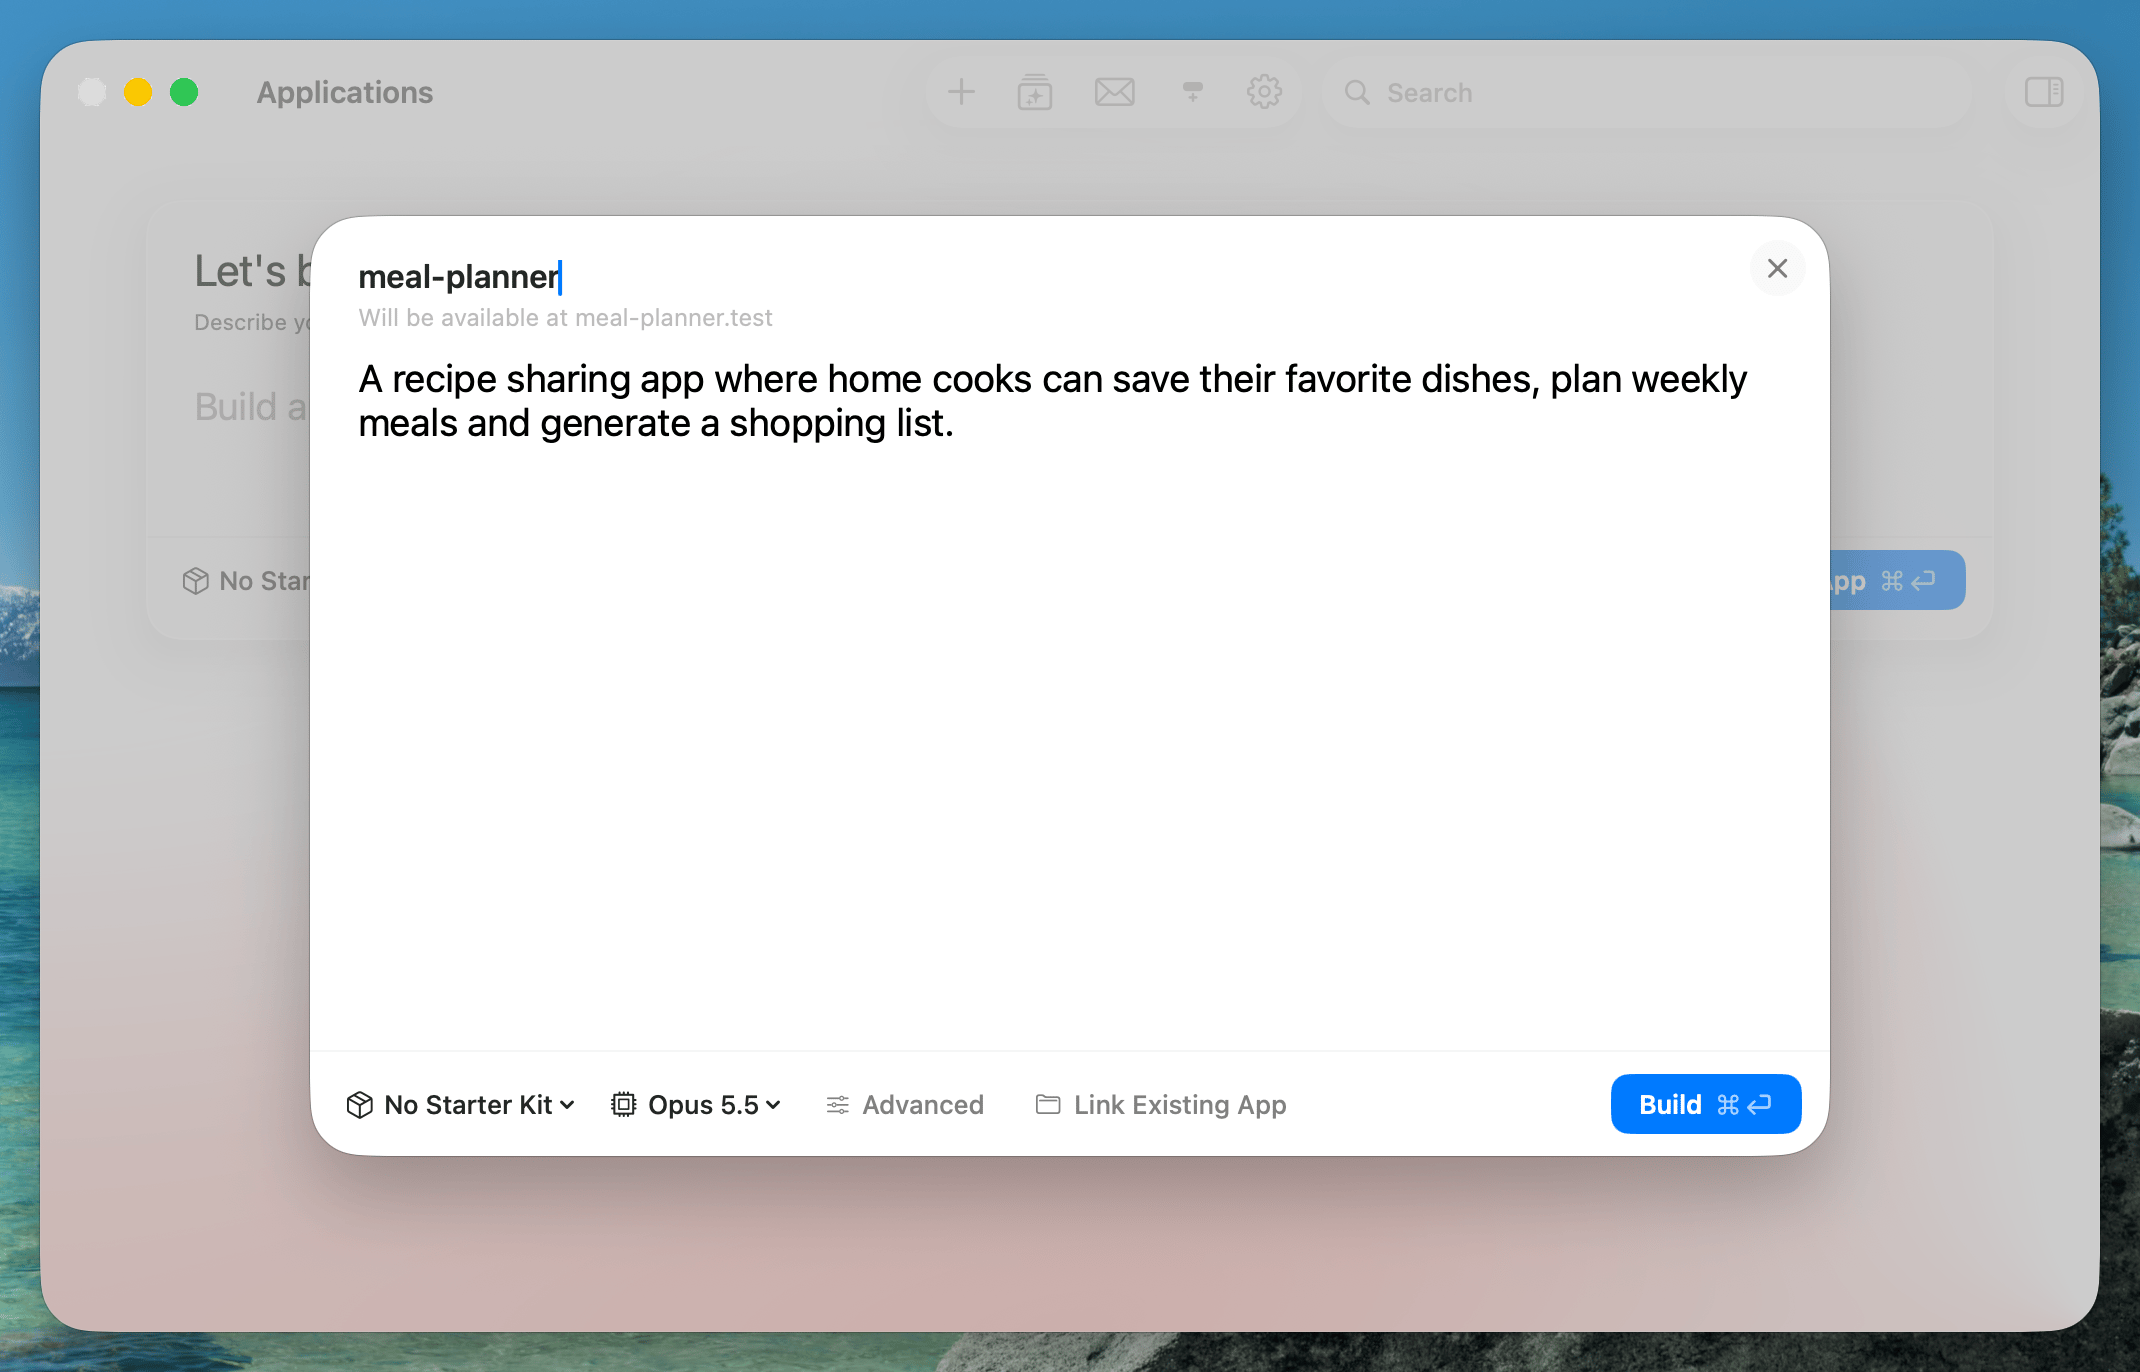
Changing an existing application
To ask an agent to change an existing application, select the application in the Applications window. The inspector on the right side contains a “Build with AI” field. Describe the change or feature, pick a model, and send the prompt. Herd starts a new agent conversation for this site that you can follow in Herd Studio.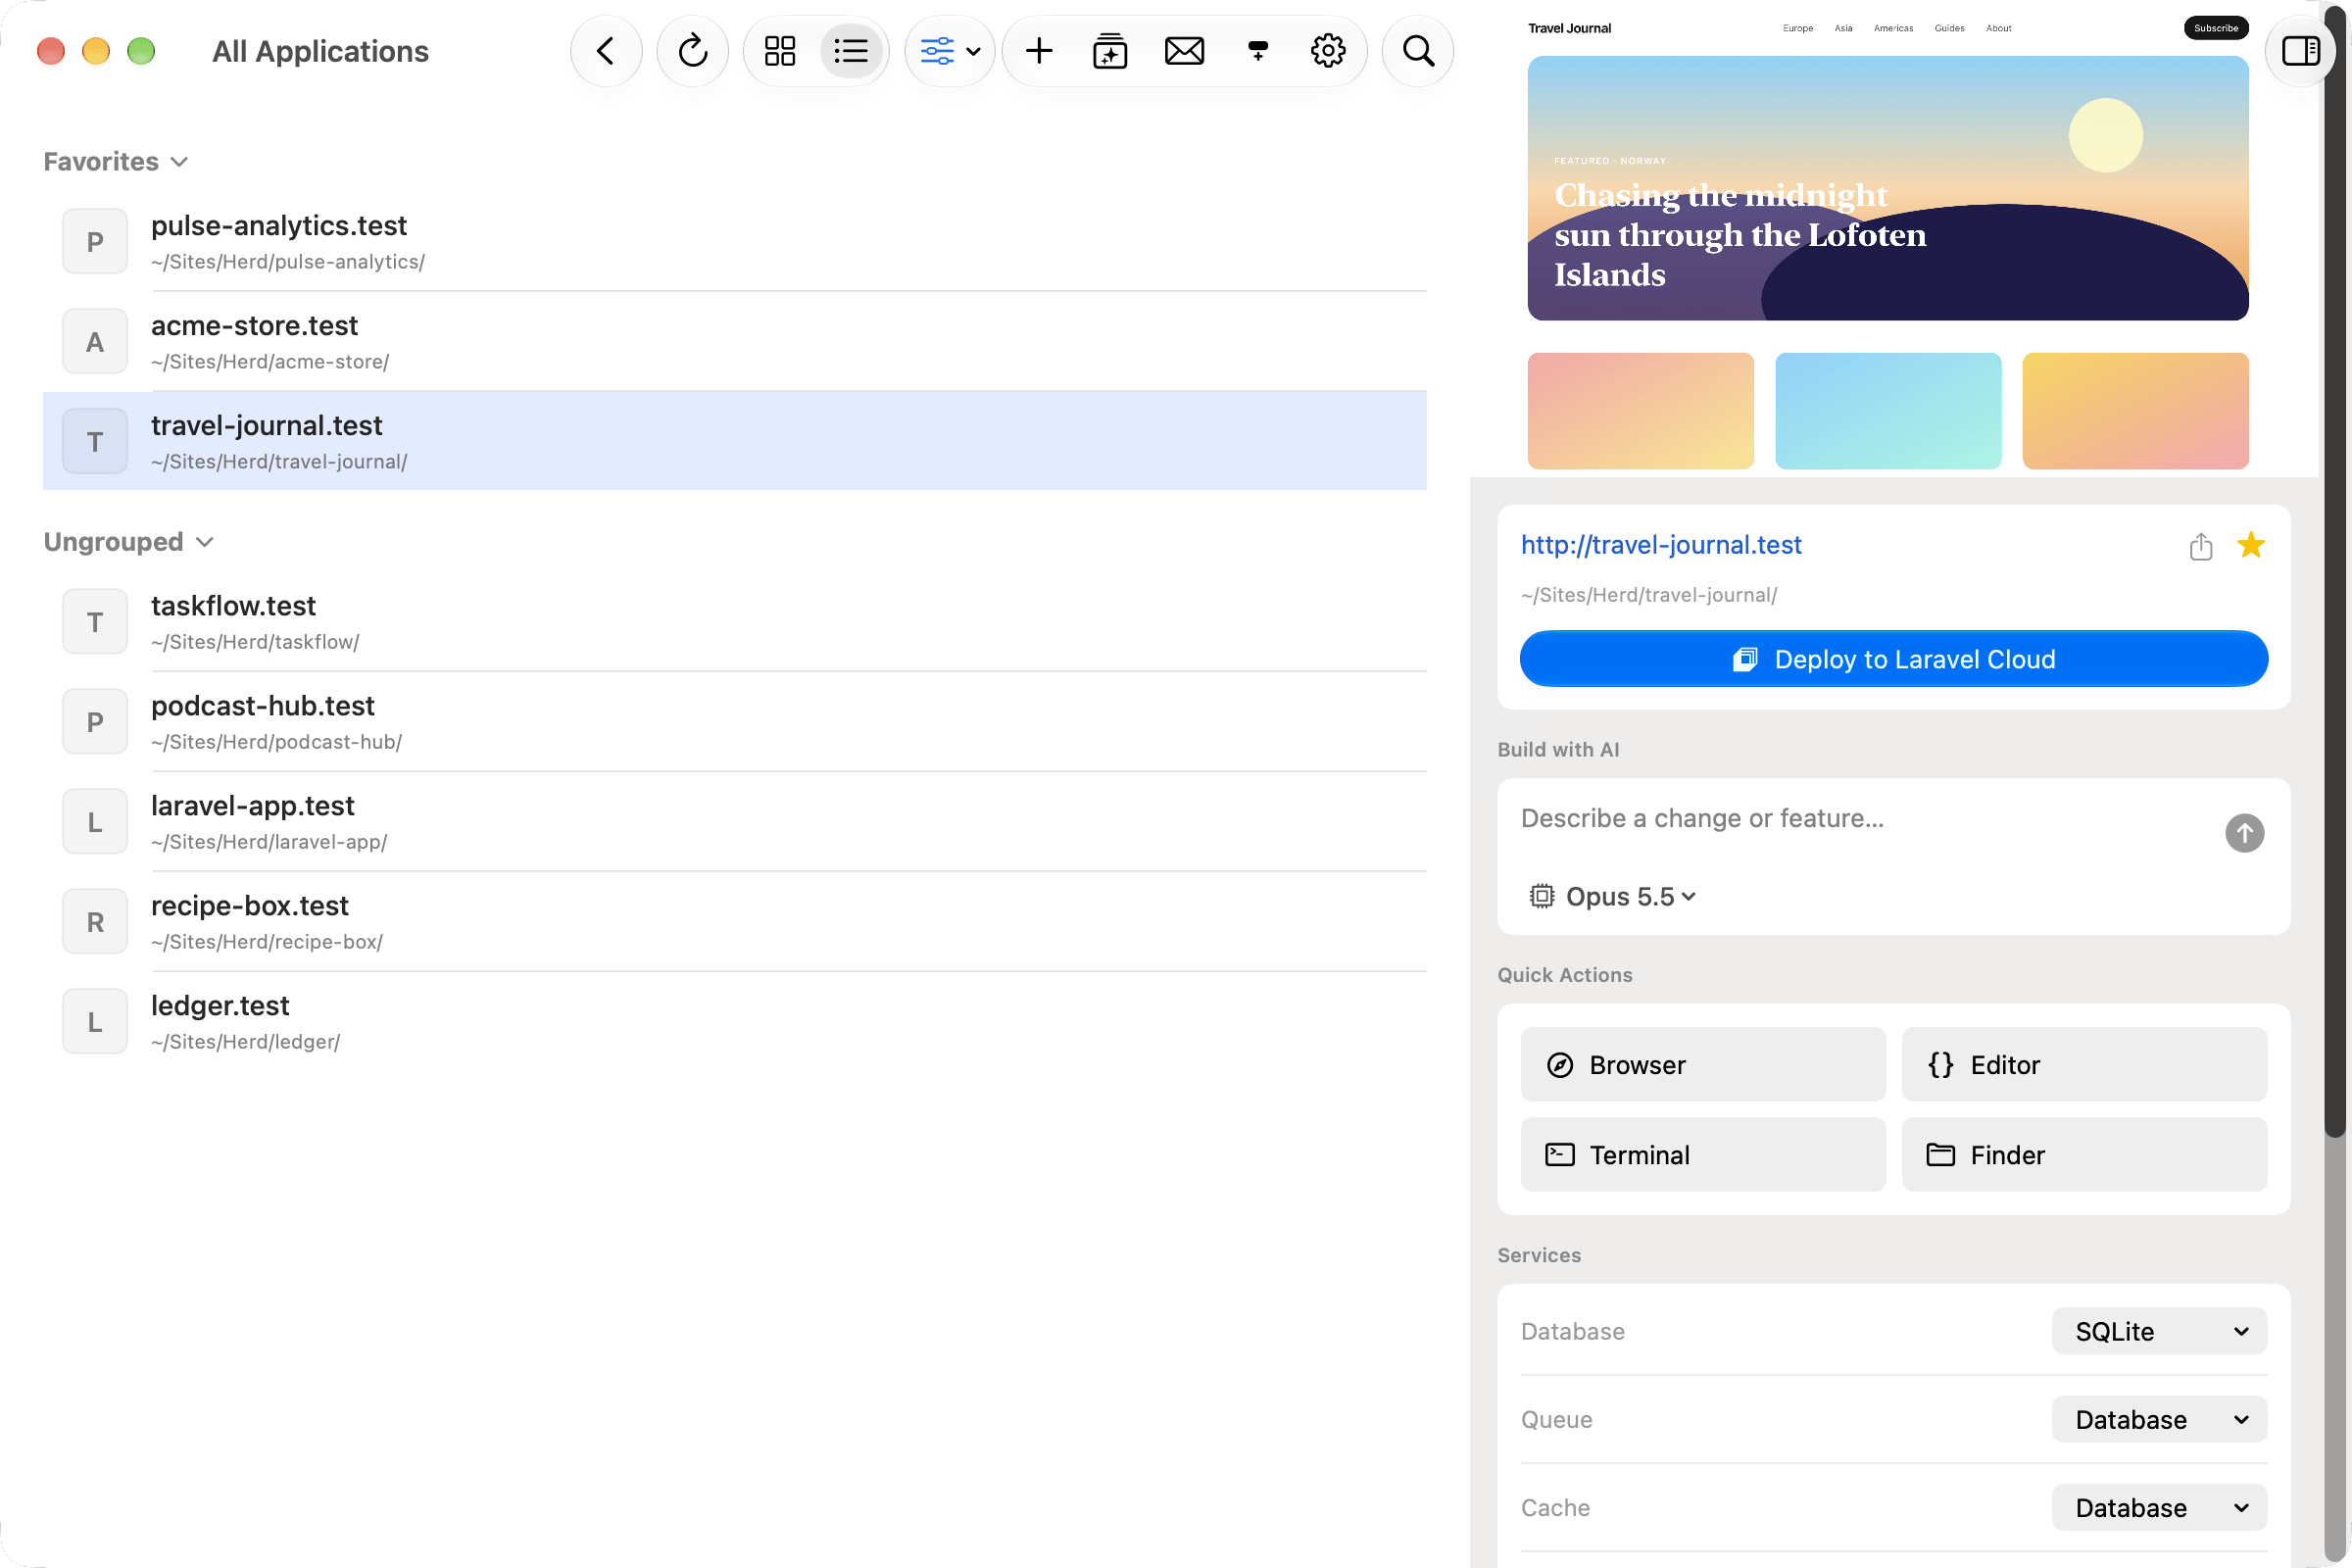
Fixing errors from your logs
The Log Viewer has a “Fix with AI” action for every log entry. Herd sends the entry with its stack trace and context to an agent, asks it to find the root cause in your codebase and fix it, and opens Herd Studio for the site.Dictation
On macOS 26 or later, you can dictate your prompts instead of typing them. Click the microphone button next to the prompt field in the new application window or in Herd Studio and start speaking. Dictation runs completely on your Mac using Apple’s speech recognition. Your audio never leaves your Mac. The first time you use dictation, macOS asks for permission to use the microphone and speech recognition, and downloads the speech model for your language. You can select the dictation language in the AI tab of the settings. By default, Herd uses your system language.If you denied microphone access, you can enable it in System Settings → Privacy & Security → Microphone.