How to set up a Laravel application
Herd’s main purpose is serving Laravel developers by providing a fully integrated development stack with PHP and nginx at its core. Both services are complemented with all tools that you need to work on almost any Laravel application. This means that Herd is the right tool, no matter if you are just starting as a beginner or work with Laravel for a decade. This guide covers all steps that you need to follow to get up and running with a new Laravel application but also works if you replace the application creation step with checking out an existing git repository.Code Directory
Herd uses the concept of parked paths for serving sites via.test domains. By default, Herd creates and parks the ~/Herd directory and every folder that you create in this directory is reachable via its own domain.
Let’s open your terminal and go into the directory:
Database Choices
Laravel ships with an SQLite database for your application by default but if you are familiar with MySQL or PostgreSQL, you should get a database instance up and running before you create or check our your application.Herd Pro allows you to install database instances and other complementary services directly from Herd – but you can also download and run the database of your choice separately.
Installing Laravel
If you prefer a graphical interface, you can also create applications in Herd’s new application window, or describe your idea and let a coding agent build it for you. The easiest way to download and install a fresh Laravel application is the command line. Herd ships with the Laravel installer, and it’s already available in your CLI, so switch back to the terminal and run the following command. The first line creates the application, the second line switches in your application directory for further commands.Visit your application in the browser
Your application is now up and running, and you can visit it via it’s.test domain. Herd provides a command to open your browser directly from your terminal.
herd edit.
Herd Pro users can set up additional services and start using the integrated dump debugging feature, work with emails and check our their logs, so if you are using Herd Pro, this is how they work.
Set up Services
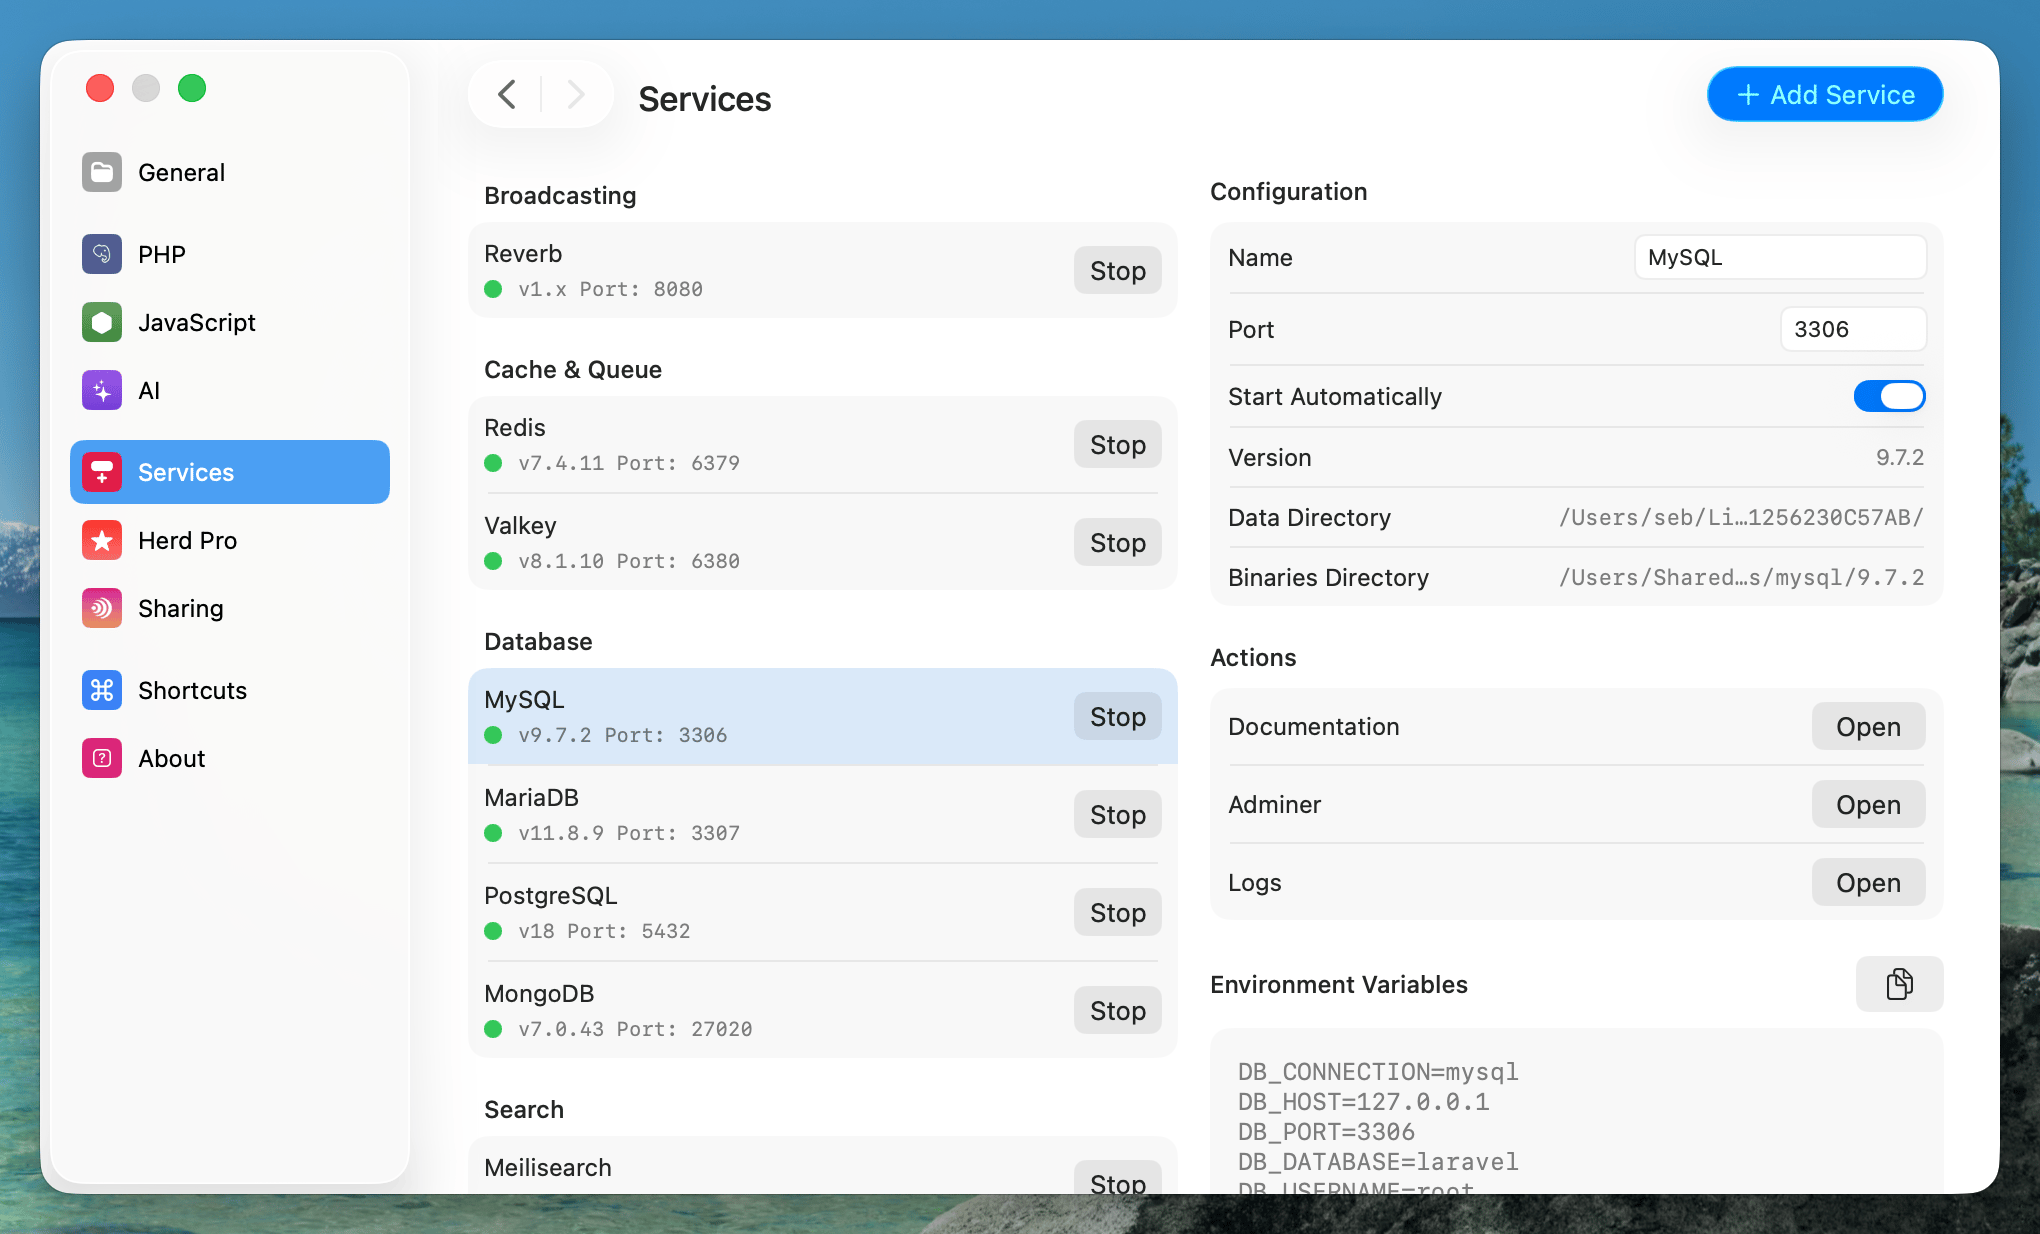
You can set up and manage services directly in Herd with a convenient interface. Simply head over to the services tab in the settings and add the service that you need. Herd supports many widely used services like databases, caches, and search-, and storage engines.Databases
Caches and Queues
Broadcasting and Realtime
Search
Storage
You can install all these services with a few clicks and decide if you want to start them with Herd automatically or only on demand. To use a service in your application, select the application in the Applications window and pick the service in the “Services” section of the inspector. Herd updates your.env file accordingly. Learn more in Per-Site Services.
Debug with Insights
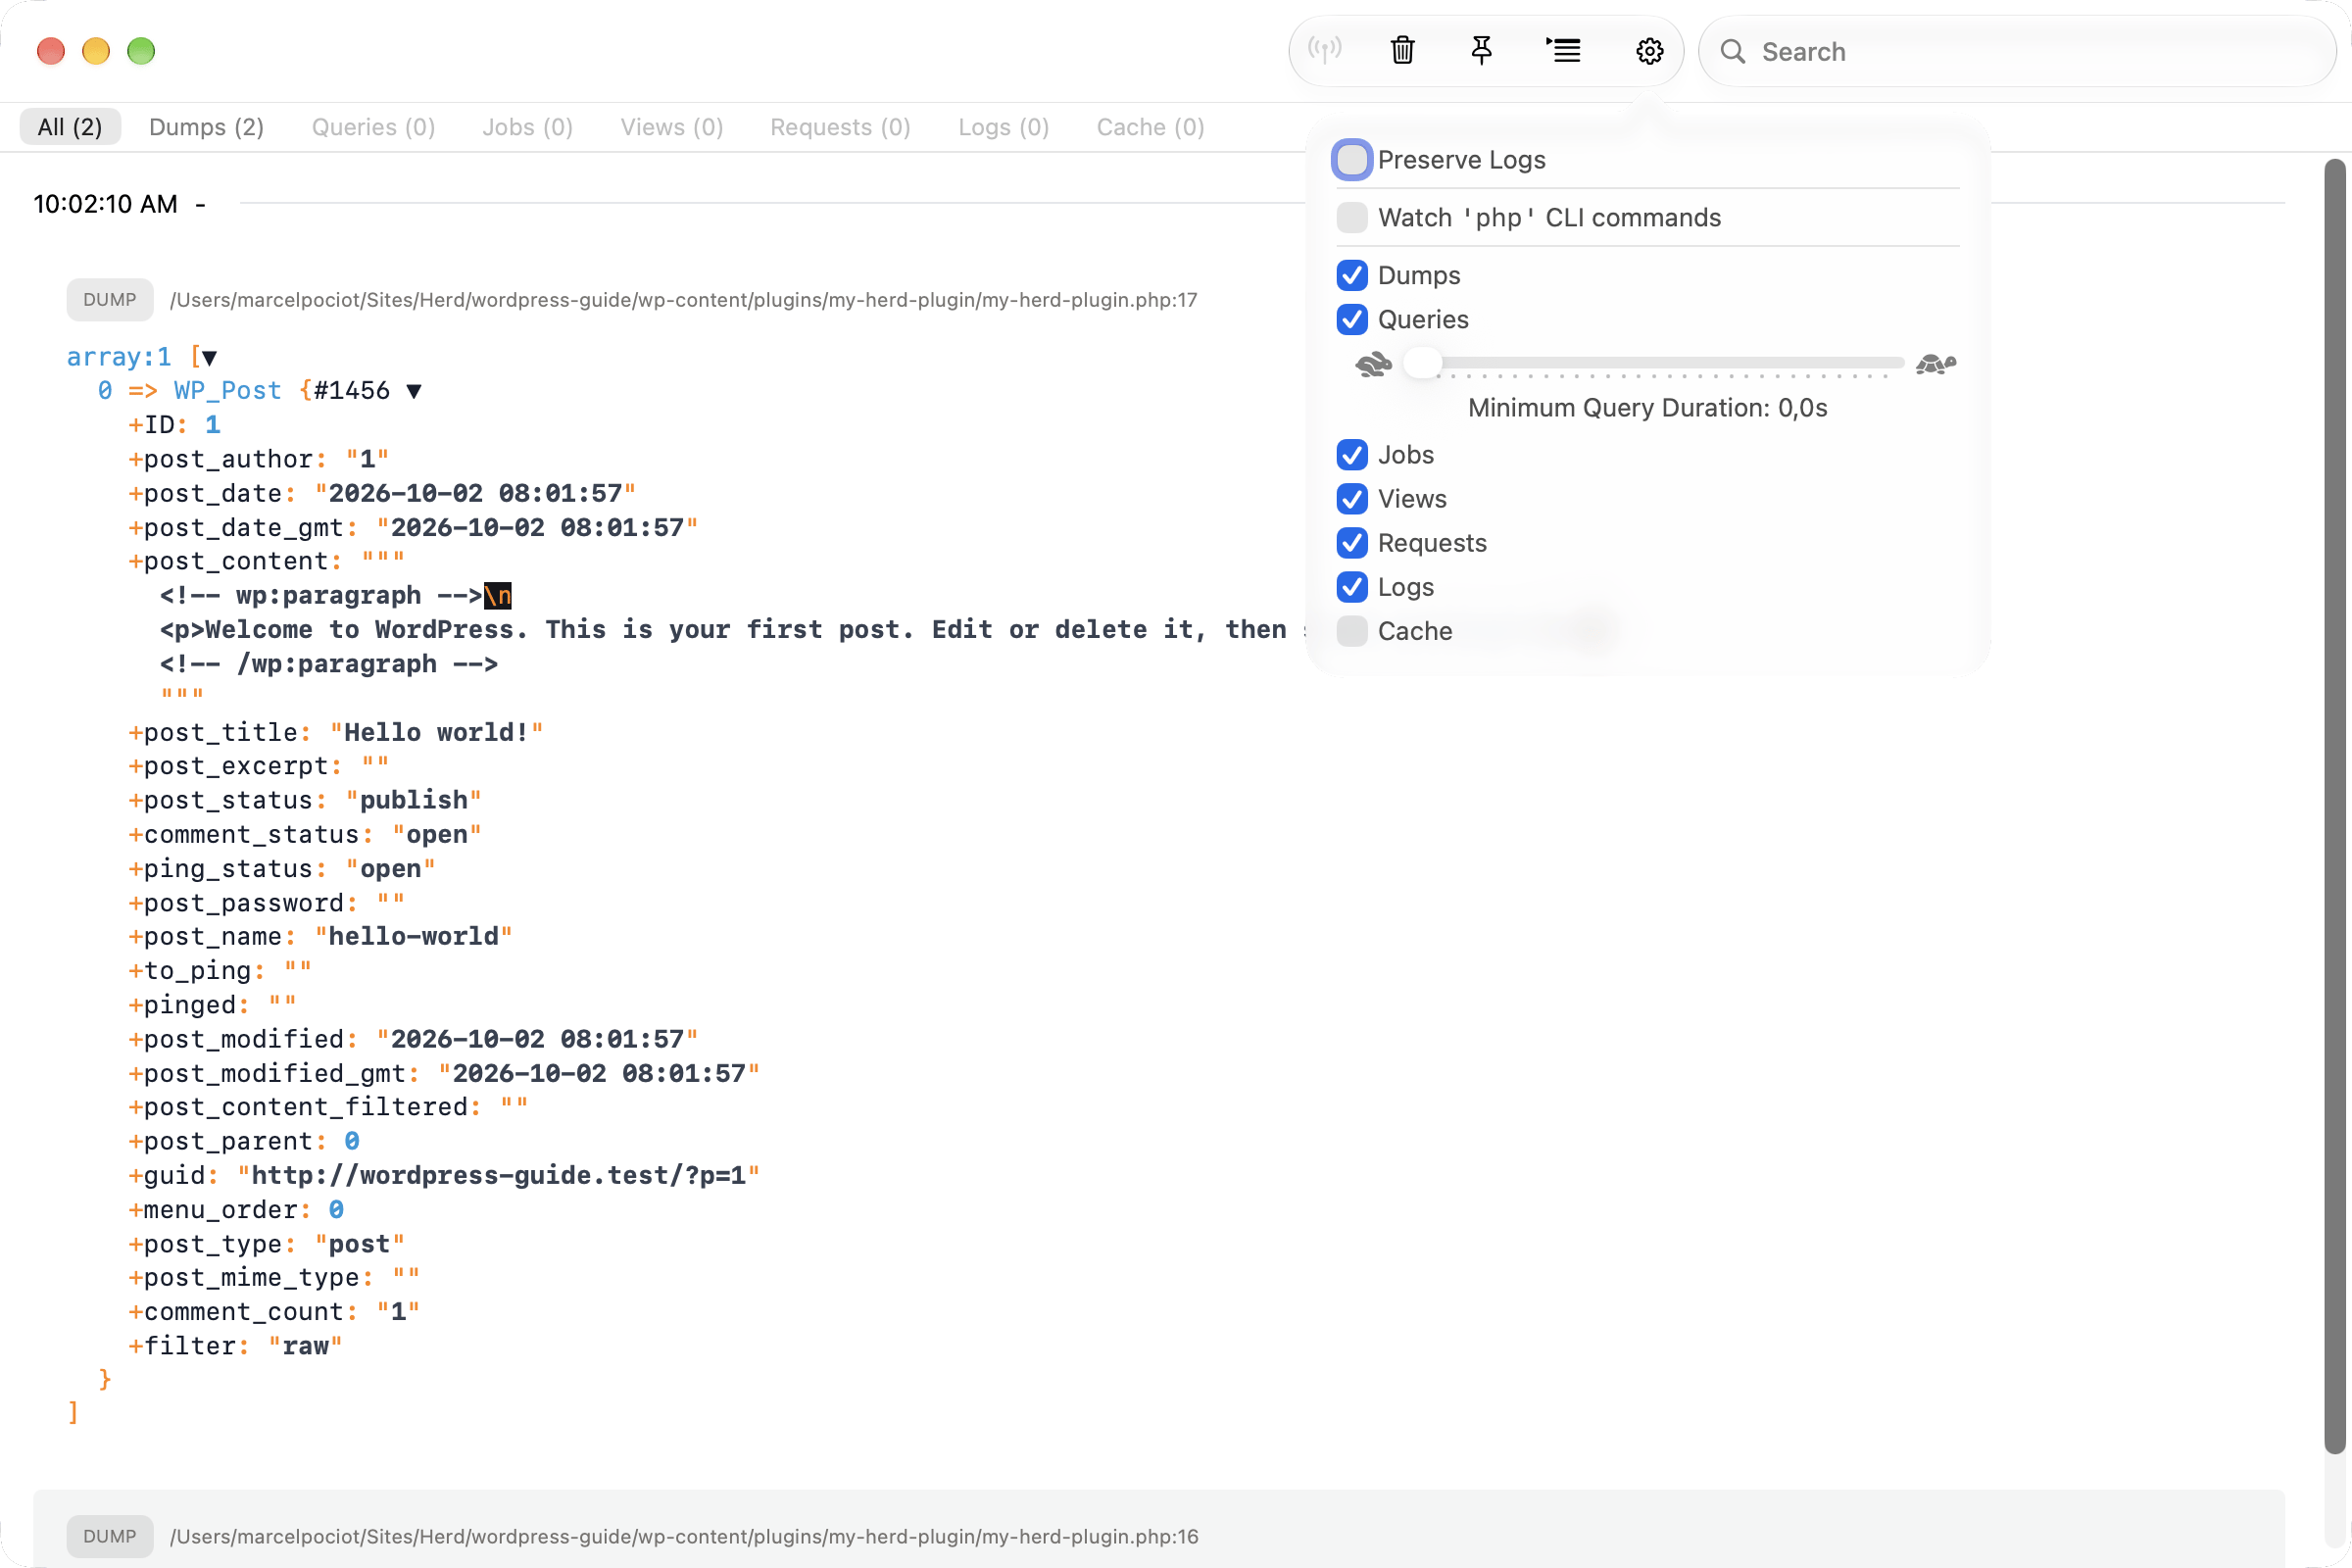
The most common debugging method in Laravel is using the helpers fordump() or dd(). While dd stands for dump and die and stops your application, dump simply displays some output. Herd Pro has a separate Insights window that displays this information in a great way and also shows Eloquent queries, logs and more. As a first test, you can invoke the dump function and print out the simple string hello from your app.
Go to your terminal and start a tinker session by running the tinker command of the Herd command line interface. It proxies the tinker command of Laravel but always uses the application PHP:
php CLI commands” in the AI tab of the settings. You can use the dump and dd helper anywhere in your application to debug browser requests and CLI commands.
Test Emails
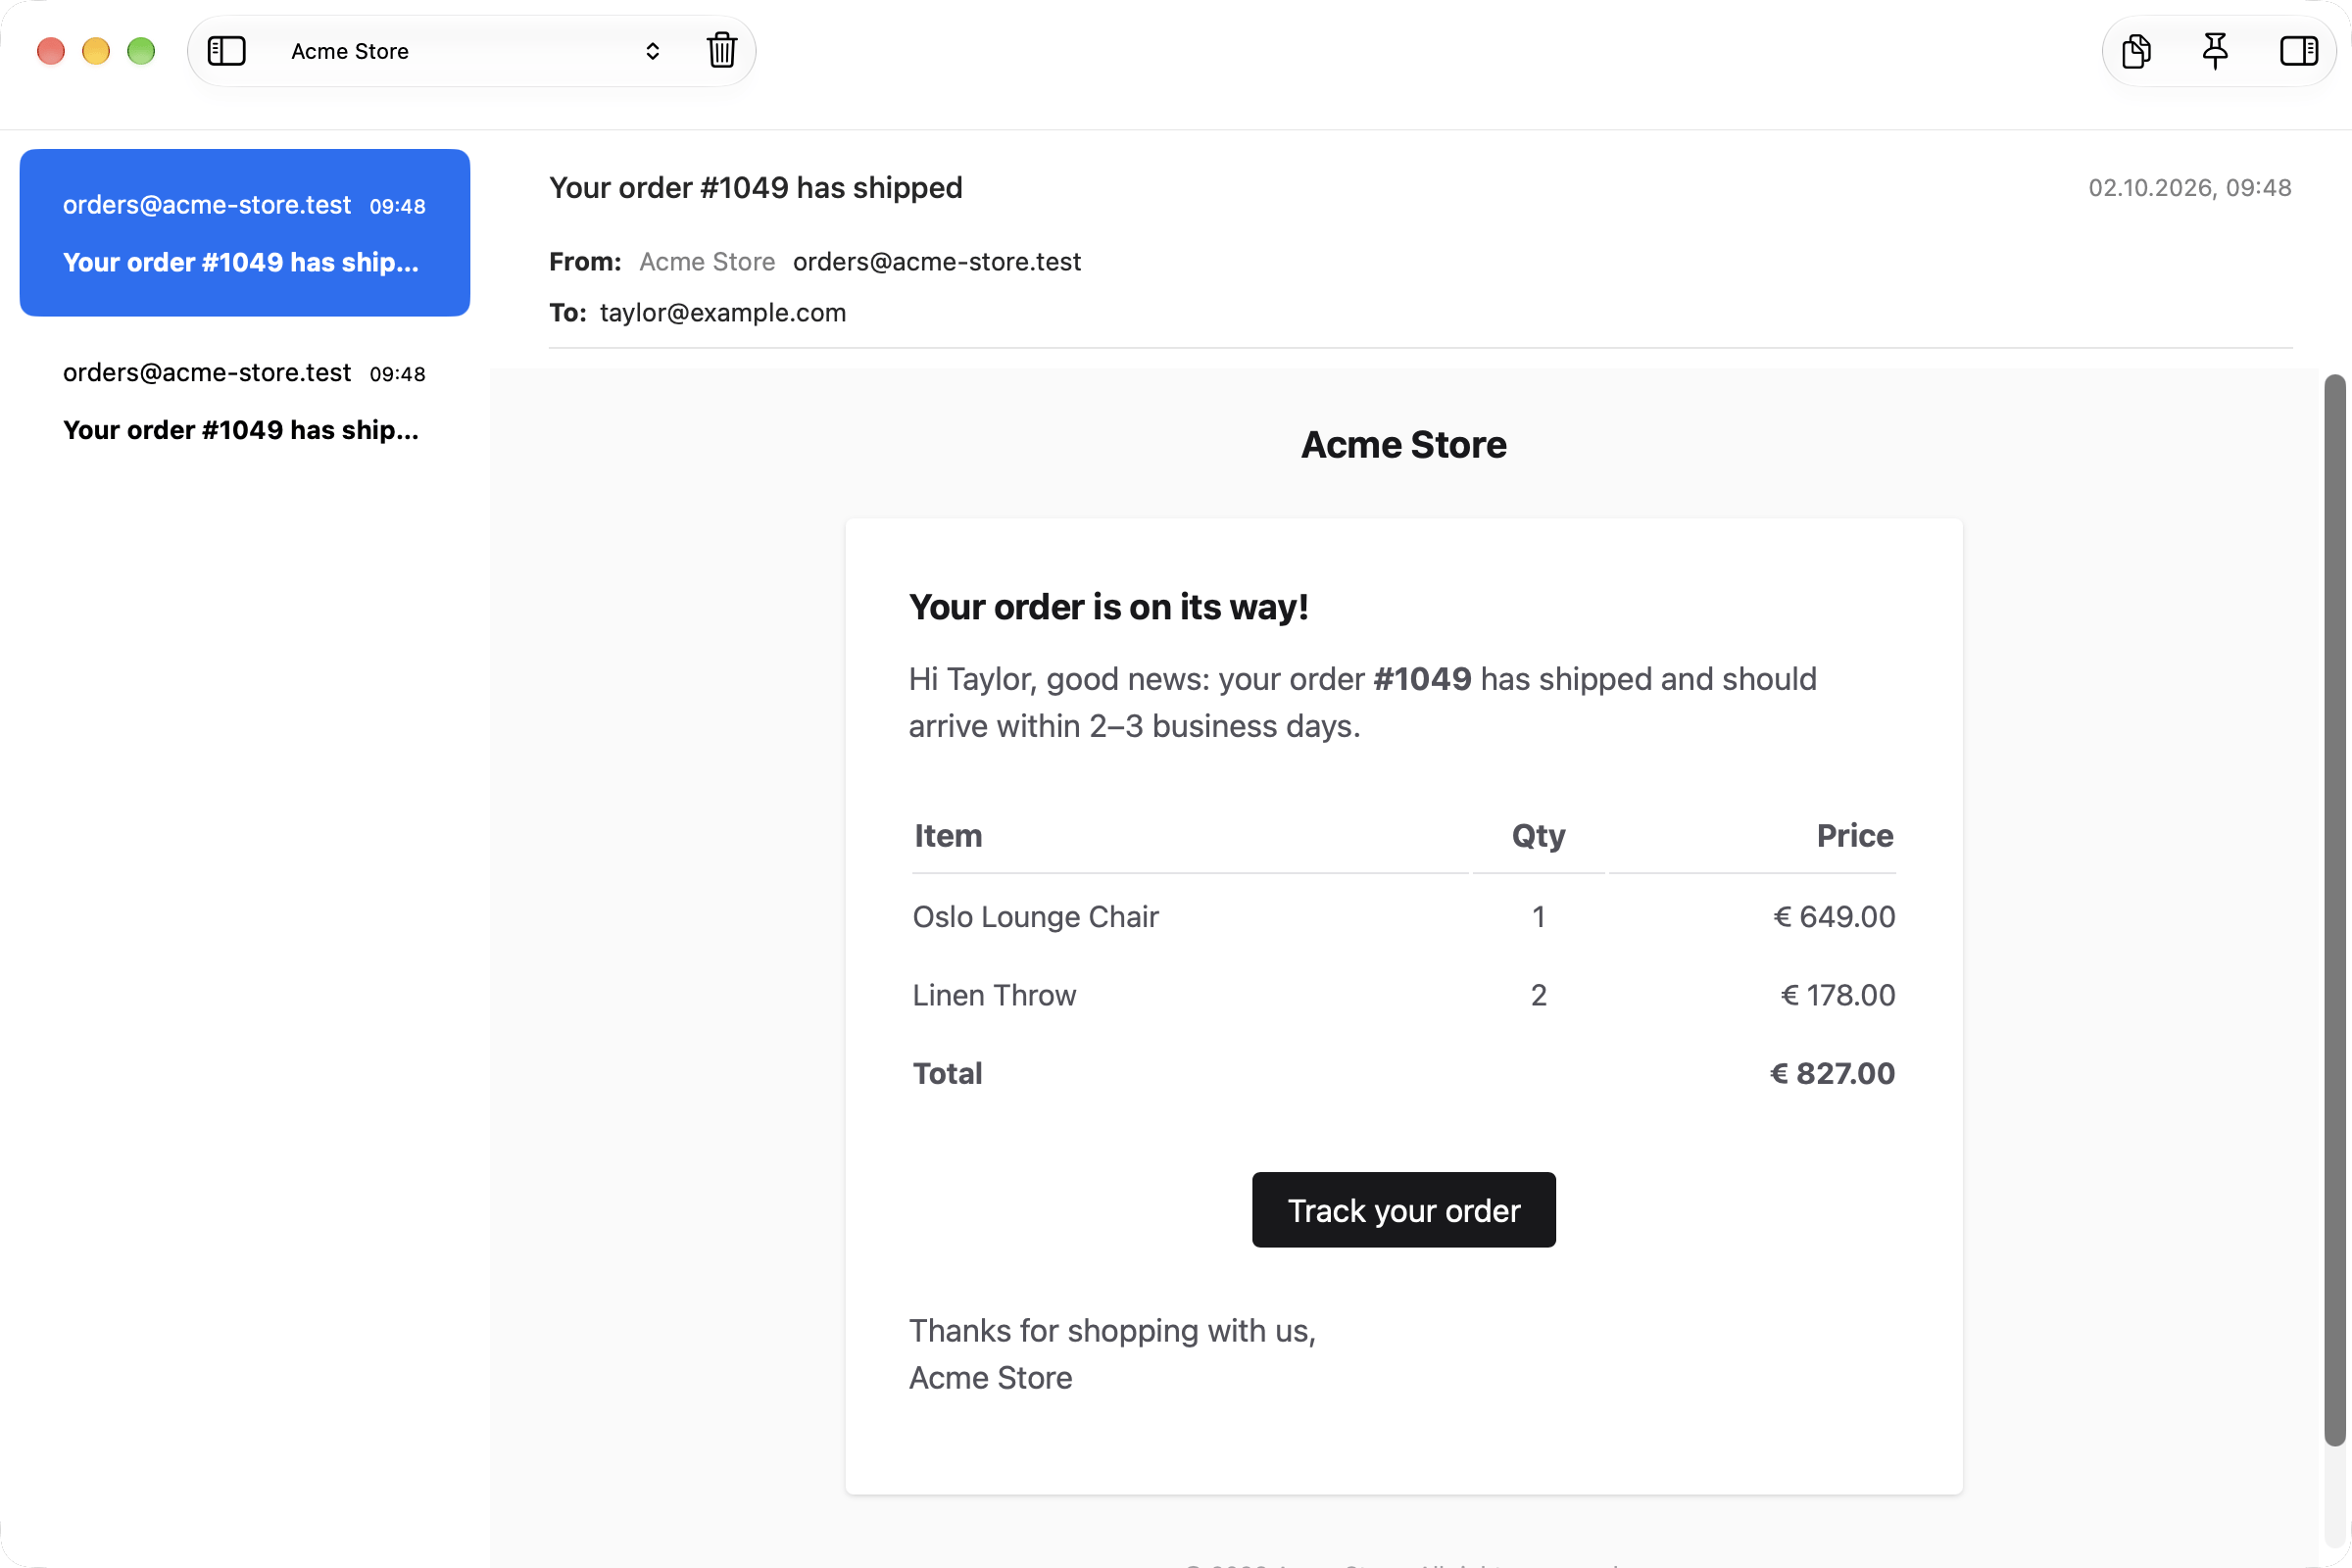
Testing emails can be cumbersome and even result in sending emails to your users when you’re connected to a real mail service. Herd solves this by running a local email server that catches your mails and sends them to an internal email client that you can use for testing the email. To enable the email server for your application, go to theenv file in the root of your application directory and make sure to update the mail settings according to the following configuration.
MAIL_USERNAME in the configuration above to something easily identifiable.
So after you’ve setup up the mail service, let’s test the configuration by creating a test email and sending it via tinker.