Setting up Redis
Redis is a fast in-memory data store that is very versatile, and most Laravel applications use it for caching or as queue service. While you may go with thesync driver for queues and the file driver for caches locally, it’s often useful to have the same development setup that you use in production.
Keep in mind that using the
dump() function in queued jobs only works if you pair it with the Dumps feature, otherwise dumps happen in the background, and you won’t see them.
Configuration
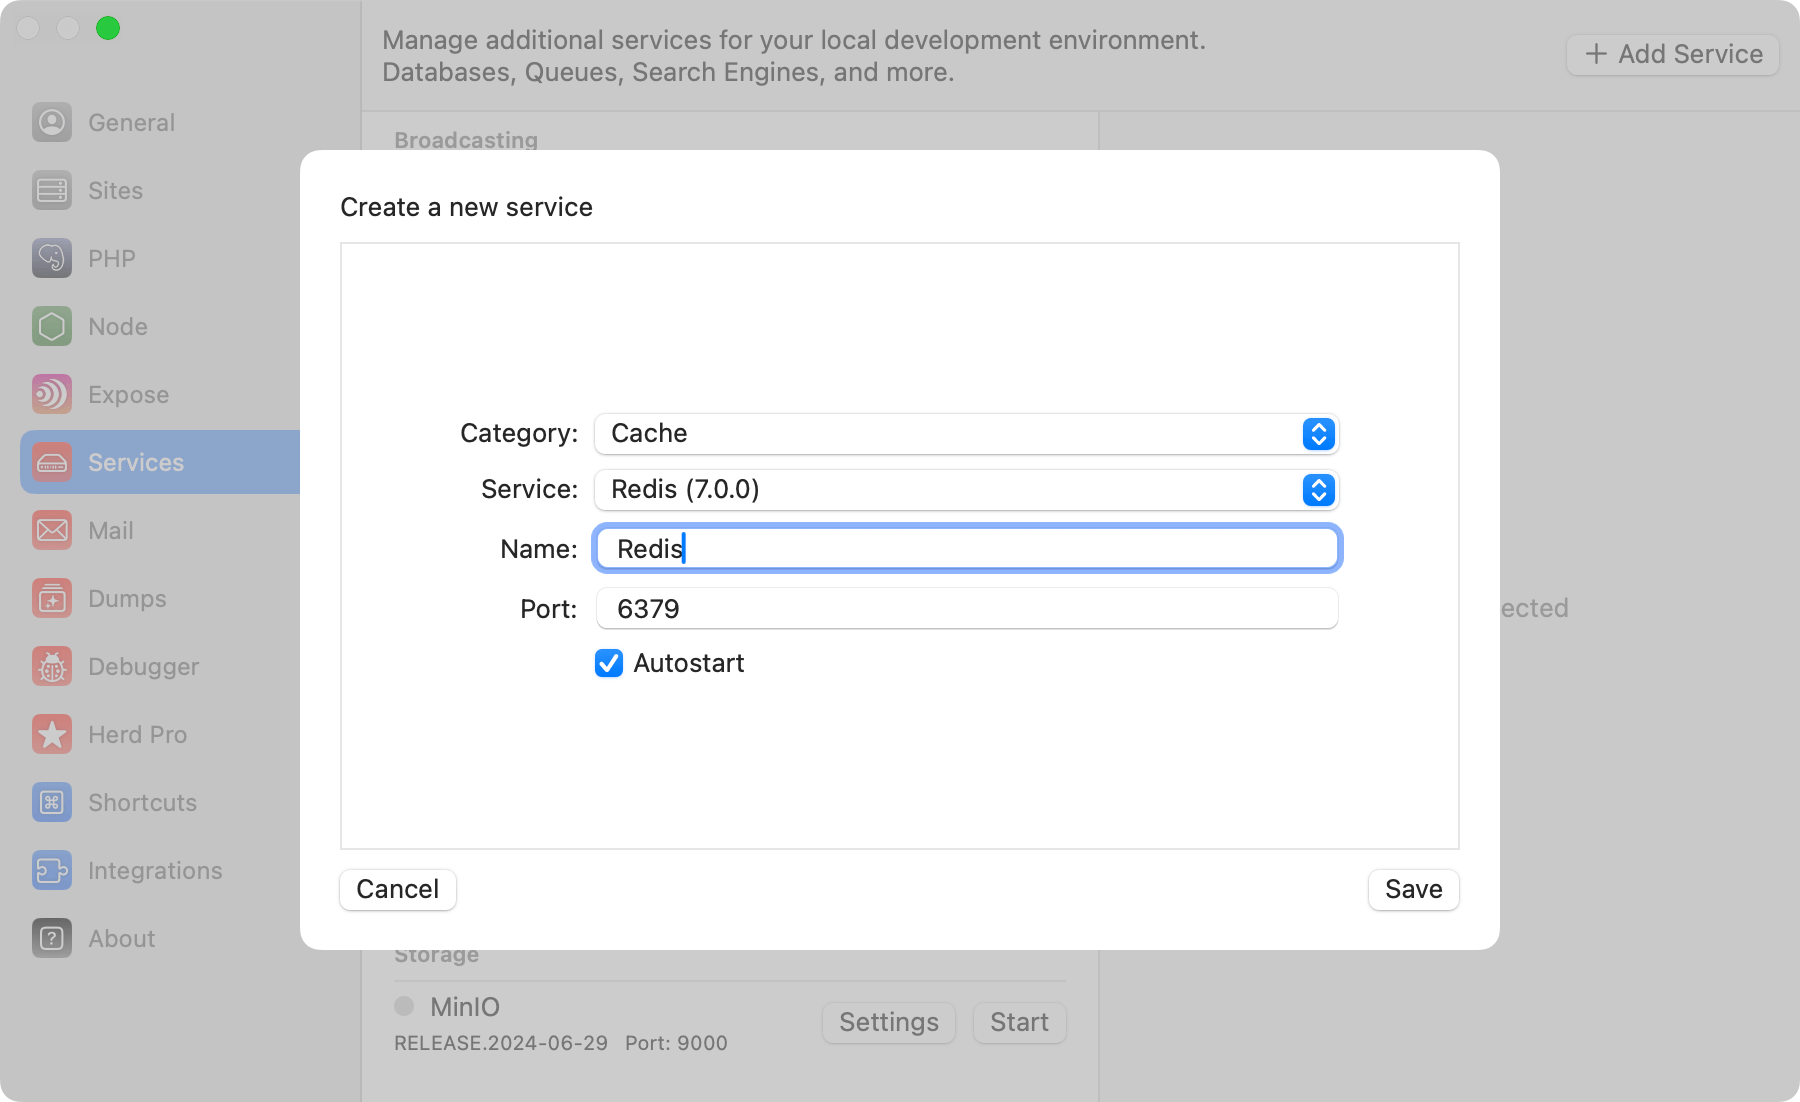
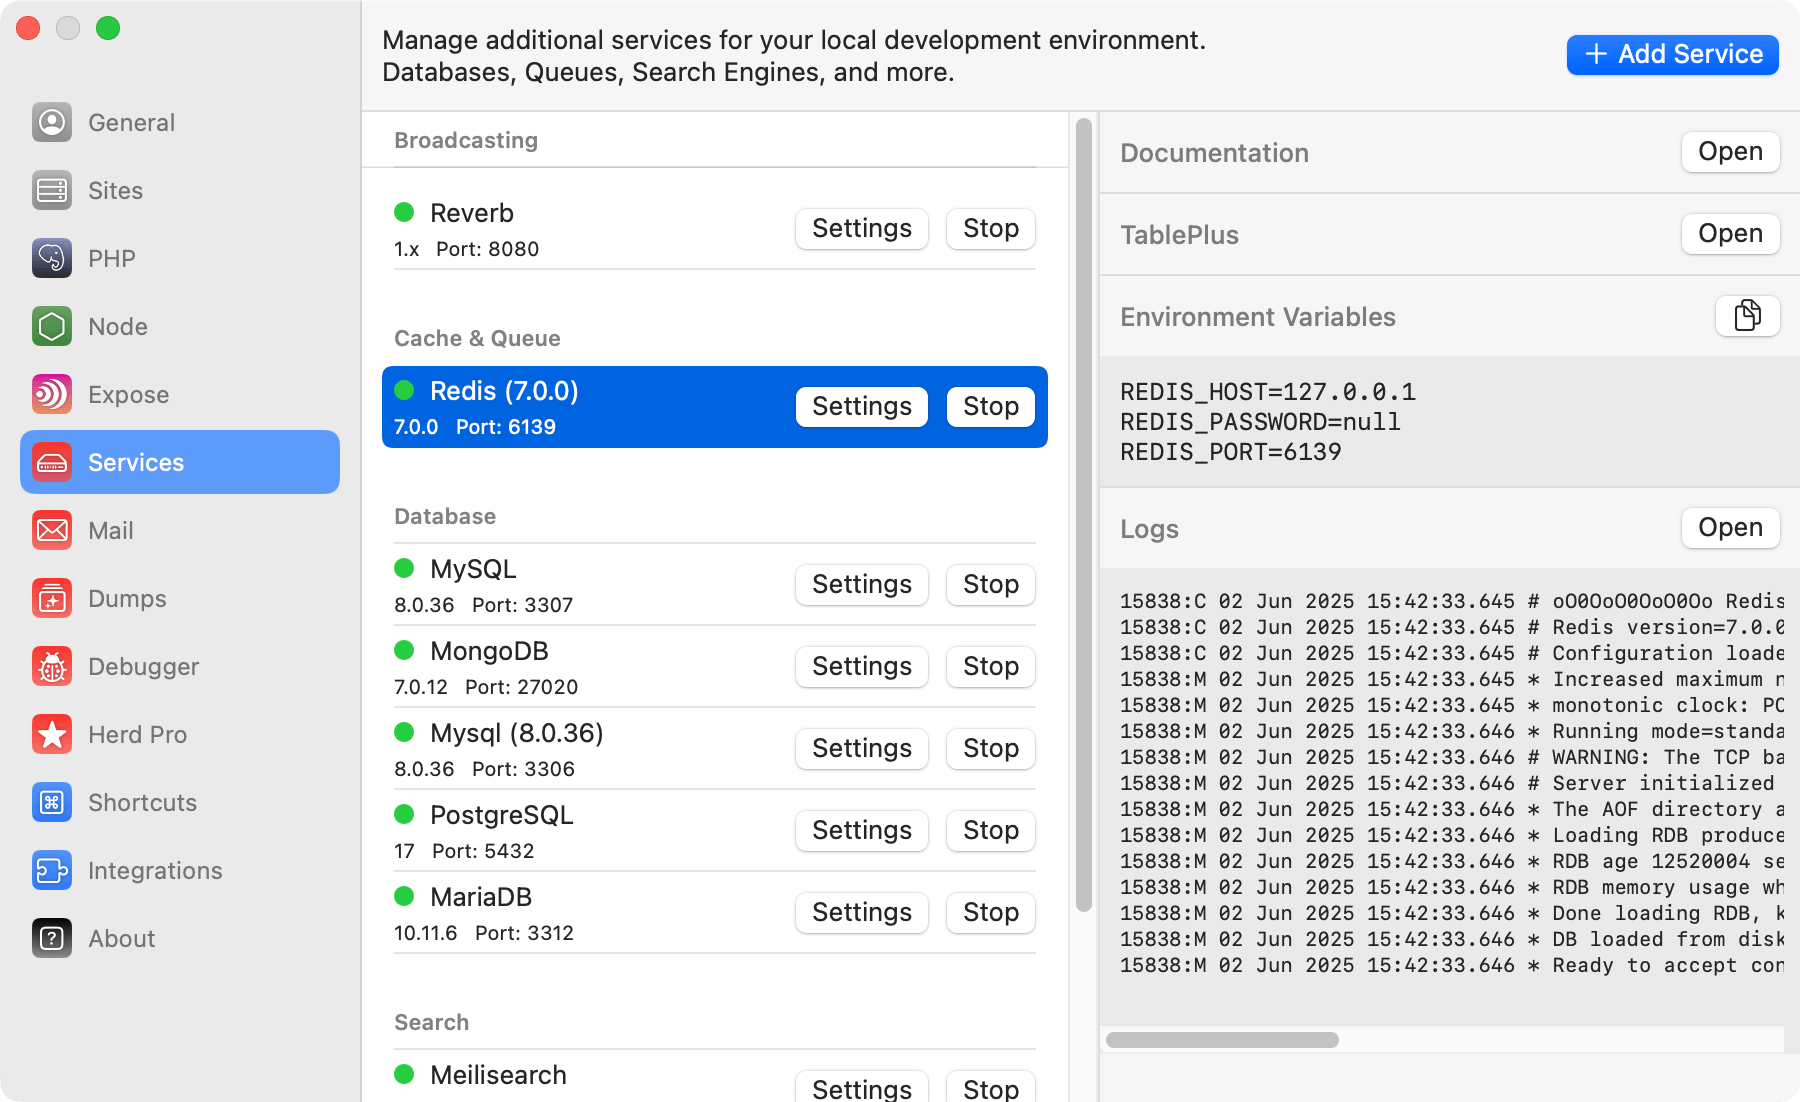
Redis comes with a sensible default configuration, making it easy to use for local development without any changes. If you want change the port of the Redis service or decide if you want to automatically start it with Herd, you can do that in the settings of the service. You can modify the configuration by right-clicking the service in the settings and open its data directory. In this data directory, there is aredis.conf that this specific Redis instance loads on startup.
Make sure to restart the service if you make changes to this configuration file.
Accessing the Redis instance
You usually don’t need dedicated Redis databases within your redis instance but if you decide to do that or want to debug the content of your Redis database, you can open TablePlus directly from the menu on the right side.
Connecting from your Laravel application
To connect it within your application, you can use the credentials that are listed next to the running service in the settings, or you can use the ones below.Versions
Herd Pro allows you to install the following versions directly from the services tab of the settings. New versions are available regularly.| Service | Version |
|---|---|
| Redis | 7.0.0 |