How to set up a WordPress site
While Herd was mainly developed with Laravel in mind, most concepts apply to working with WordPress, too. Herd supports standard WordPress setups as well as Bedrock with its different folder structure. This guide covers the installation of a standard WordPress site via a zip file but you can apply the same concepts when using the WordPress CLI or cloning a git repository.Code Directory
Herd uses the concept of parked paths for serving sites via.test domains. By default, Herd creates and parks the ~/Herd directory and every folder that you create in this directory is reachable via its own domain.
This means that you can simply move or install a site to this directory and don’t have to create it via the Site Manager in Herd – it just works.
Database Setup
While Laravel uses SQLite as default, WordPress requires either MySQL or MariaDB as database service for your site. You can set up this database via a free tool like dbngin or set up a database instance via a Herd service.Herd Pro allows you to install database instances and other complementary services directly from Herd – but you can also download and run the database of your choice separately.
Local Domains
As described above, Herd serves all directories in your parked paths via local.test domains. This means that you can move a site into the directory my-wordpress-site and access it via http://my-wordpress-site.test.
If you are running a multisite and want to point multiple domains to a single WordPress installation, you can use Herd links to create more local domains. You can either do that via the Site Manager as described in the chapter linking sites or use the terminal with the commands below.
Drivers
Herd uses drivers to detect frameworks and serve sites to your browser. These drivers support standard WordPress installations and Bedrock but you can write custom drivers if you are using a different setup for your site. So if your setup is supported by default, you can skip this step but it’s important to know that customized installations might need a custom driver or there will simply be a 404 error.Installation
The installation of a new WordPress site is straight forward. At first, you need to set up a database. Herd Pro users can go toSettings > Services and select their MySQL instance and then open TablePlus or AdminerEvo in the menu on the right to create the database. If you are familiar with MySQL on the command line, you can do that as well.
After that, simply follow these steps:
- Download the latest version of WordPress from the official site
- Extract the zip file into a parked Herd directory, for example
~/Herd - Rename the directory to your domain, in this guide, we’re using the local domain
wordpress-guide.test, so the directory name iswordpress-guide. - Go to http://wordpress-guide.test and follow the installation process.
root and has no password.

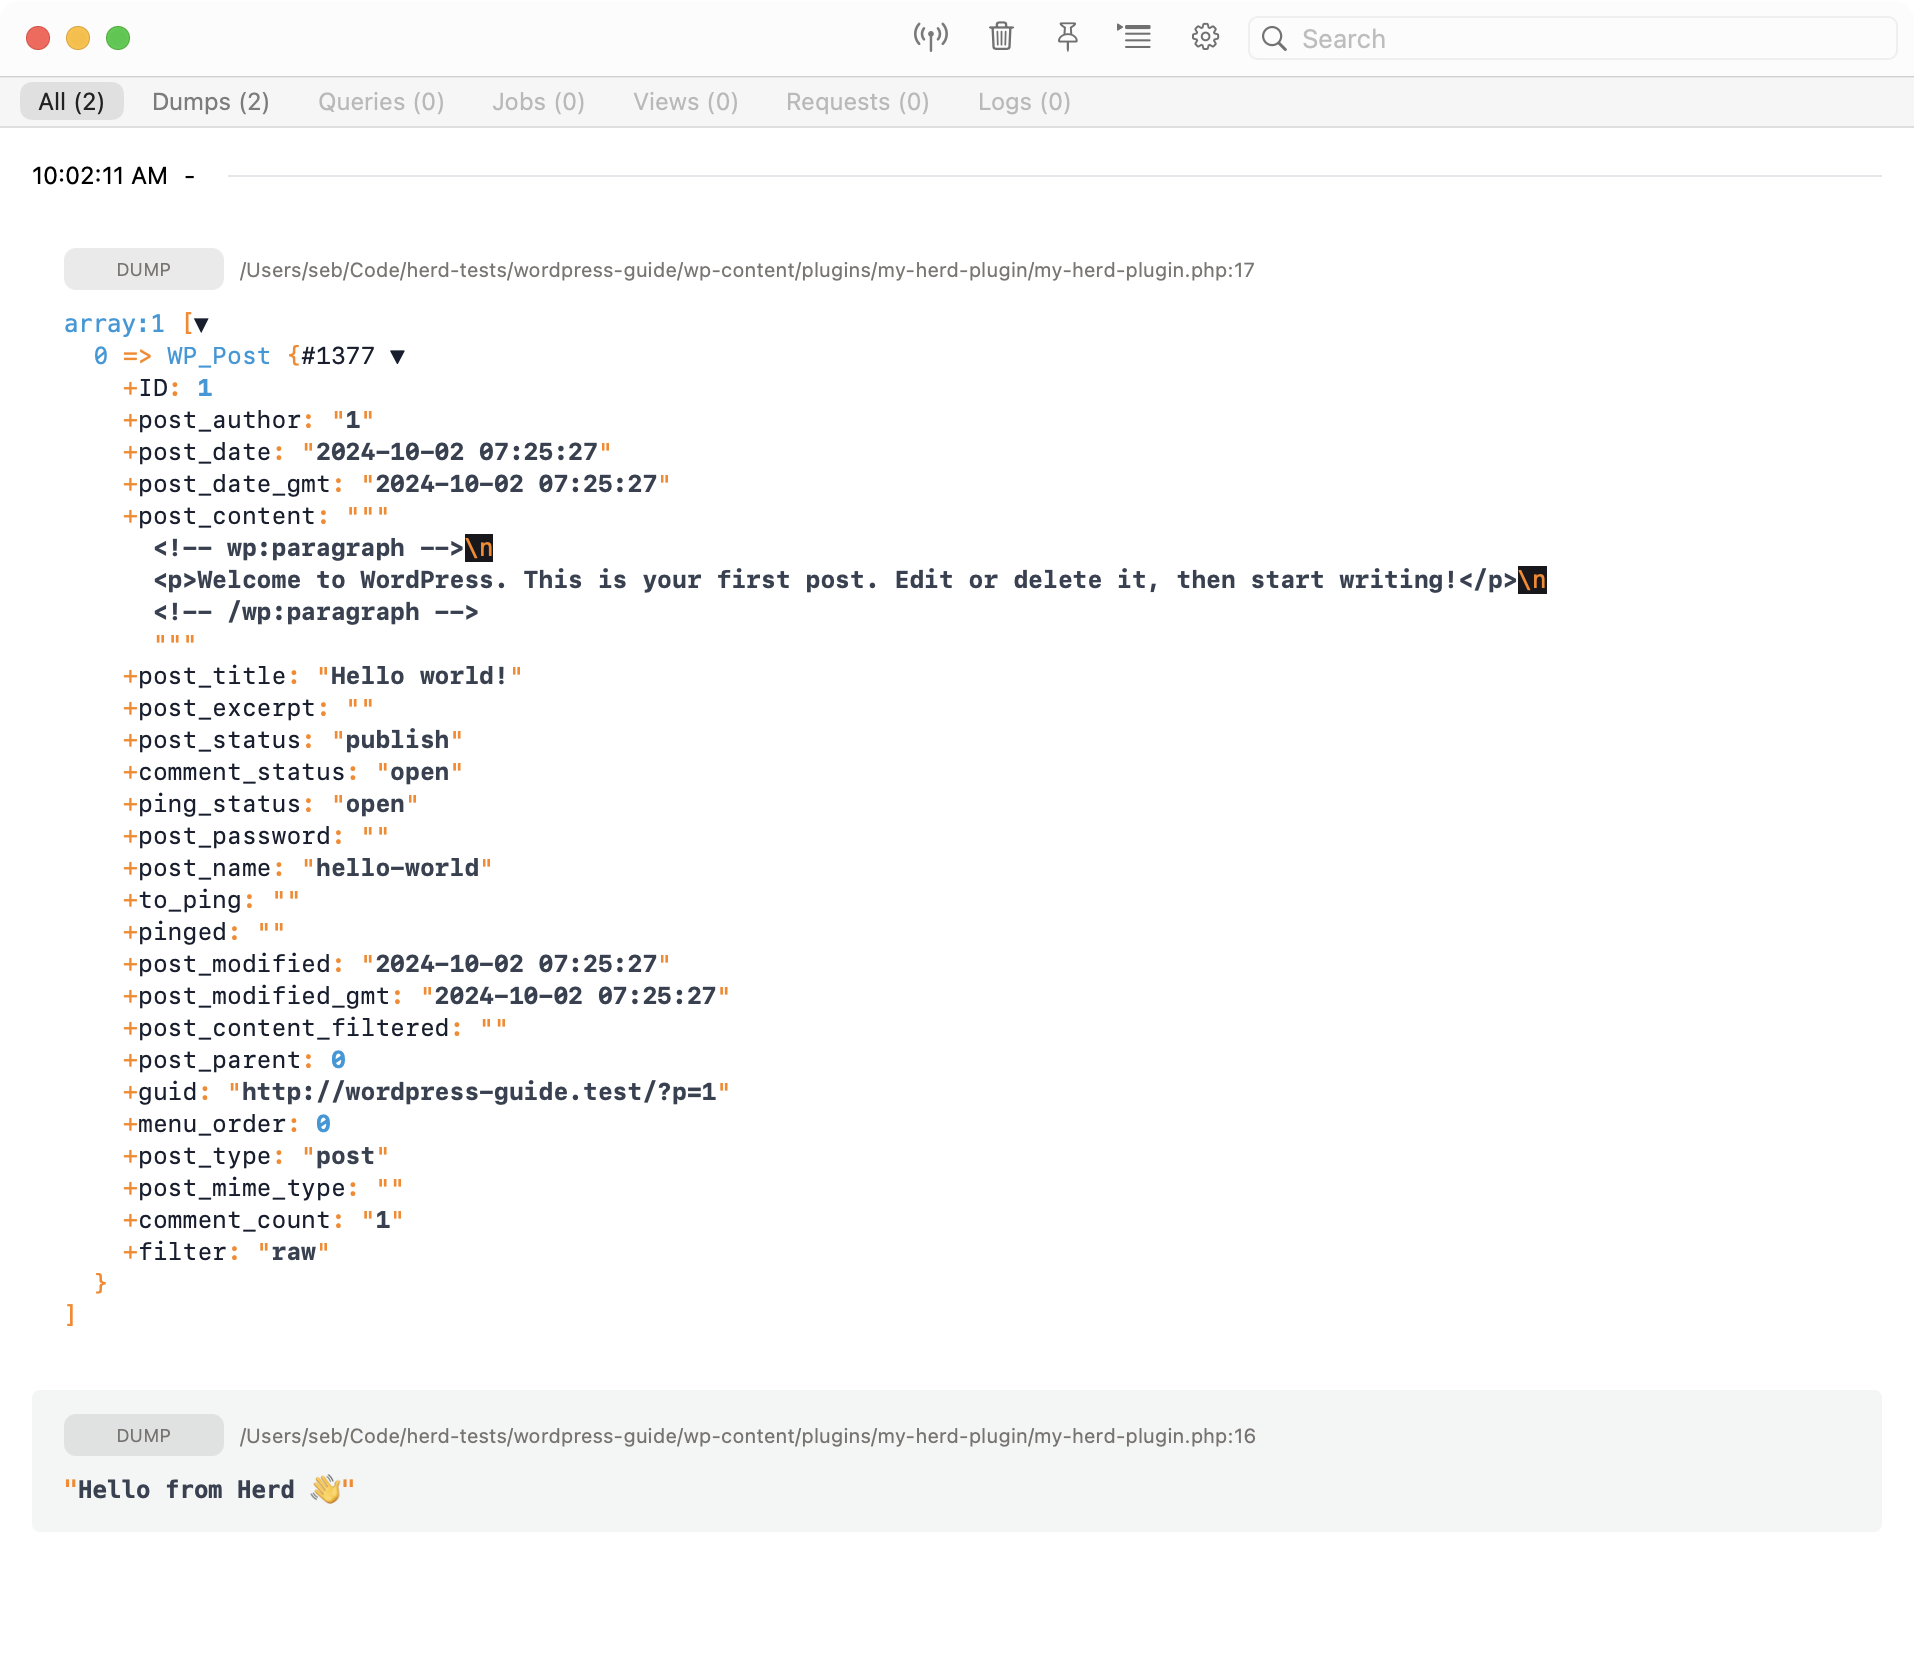
Debugging with Dumps
Herd Pro allows you to debug your site with a convenientdump helper. So if you’re working on plugins and need to output data for debugging purposes, this is super powerful. In this example, we`re creating a very basic plugin and dumping a string and all existing posts of the fresh WordPress install.
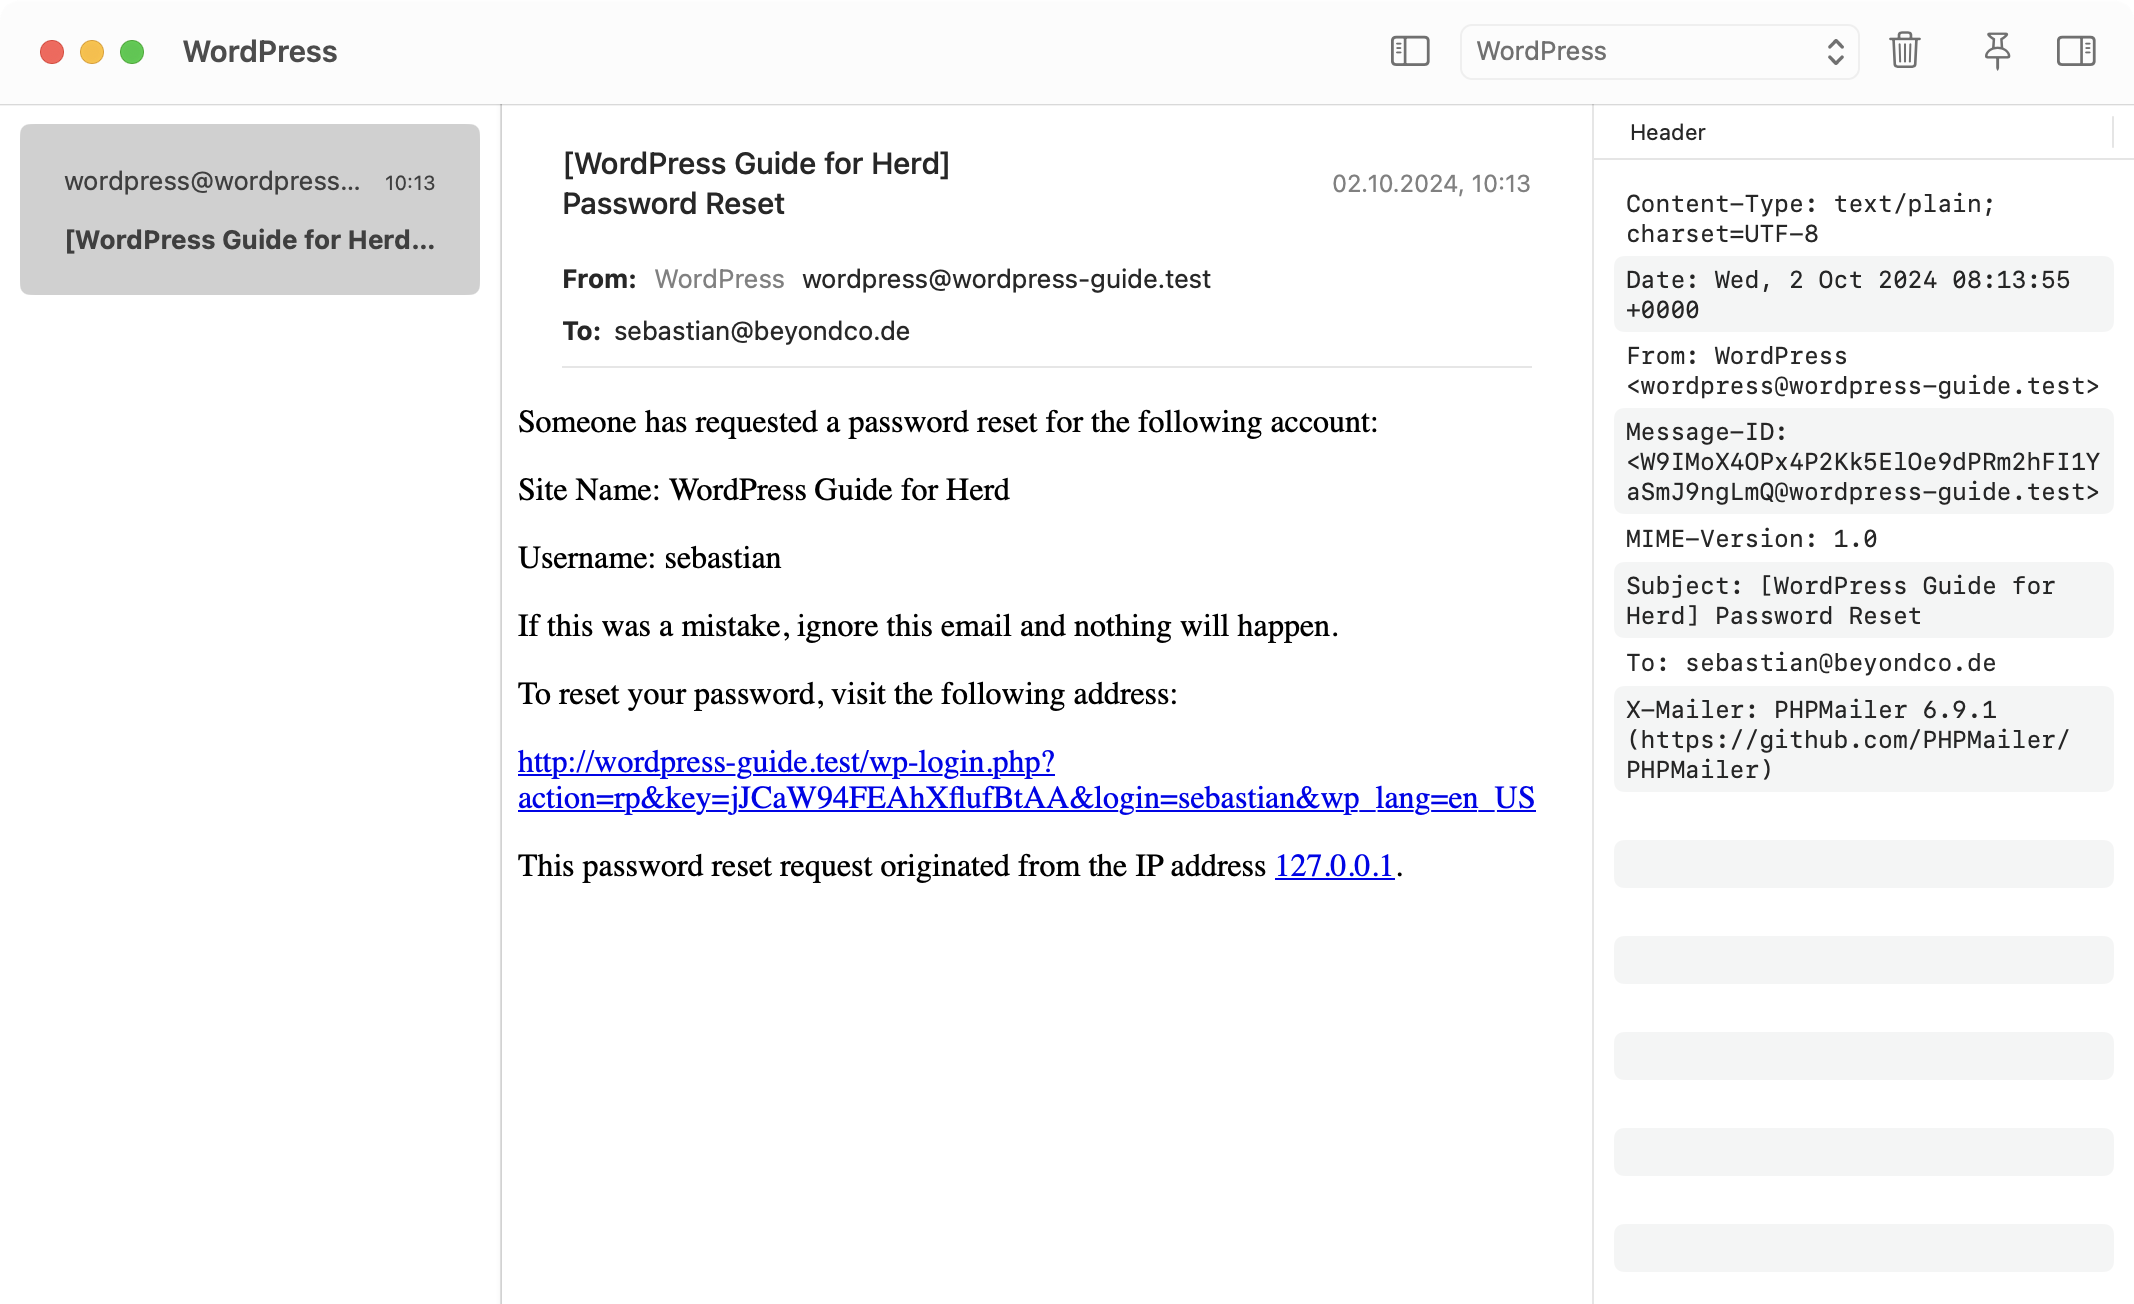
Test Emails
Testing emails can be cumbersome and even result in sending emails to your users when you’re connected to a real mail service. Herd solves this by running a local email server that catches your mails and sends them to an internal email client that you can use for testing the email. The quickest way to set up mails in Herd Pro is by defining a mailer in thefunctions.php. Simply paste the following snippet to the end of your functions.php to receive emails in Herd.