Manage Sites in Herd
If you’ve read the Sites introduction of the Getting Started section, you are already familiar with the concept of parked paths and linked directories – but how do you use them if you have many sites and use different technologies for them?Folder structure
We recommend to put all PHP based sites in your Herd directory until you reach a point where it makes sense to split them into a folder structure that makes sense for you. This could be sites per client, or if you run different technologies like Next.js, you can serve them from a different folder vianpm run dev.
This setup keeps the Site Manager clean and easy to use because you can simply unpark a directory in case that you don’t work on these sites for a few weeks.
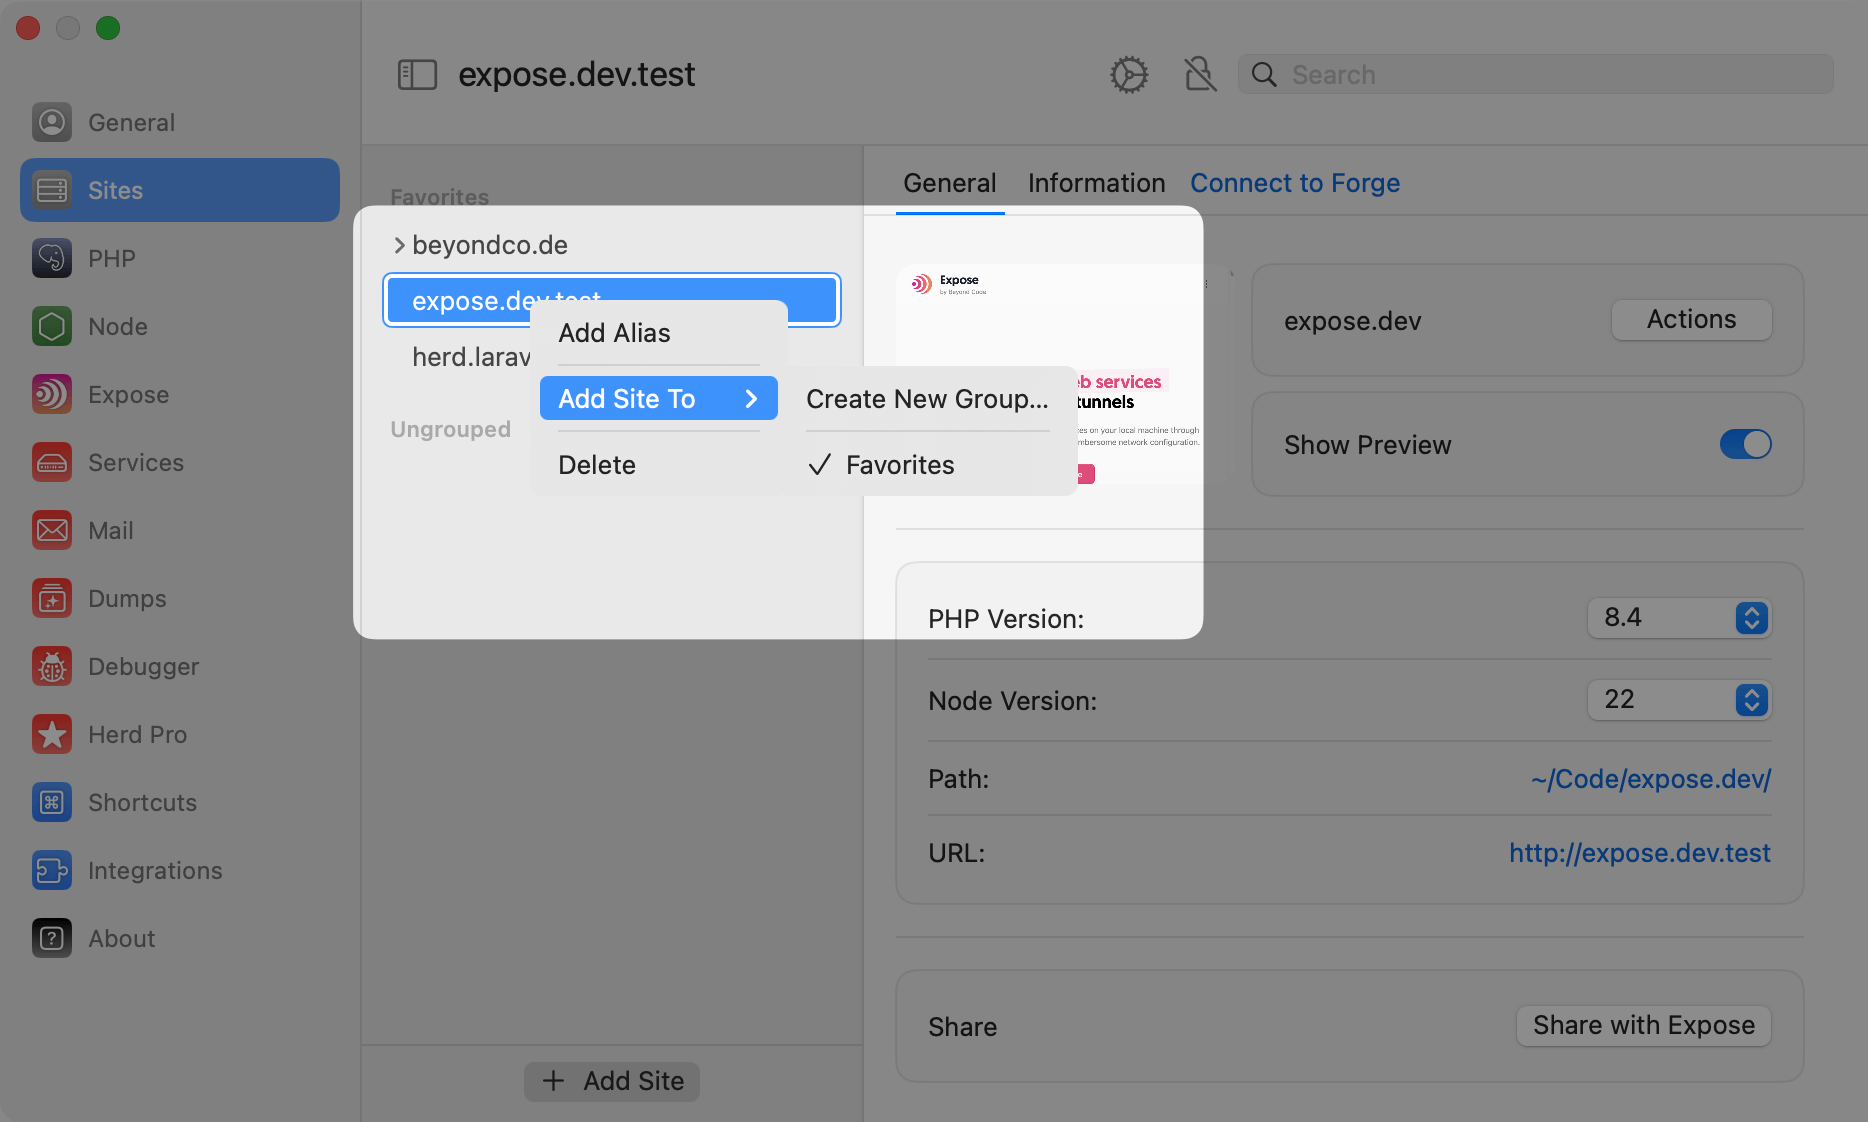
If you don’t mind a long list in the Site Manager, you can also mark your most important sites as favorites to display them at the beginning of the list.
Site Manager
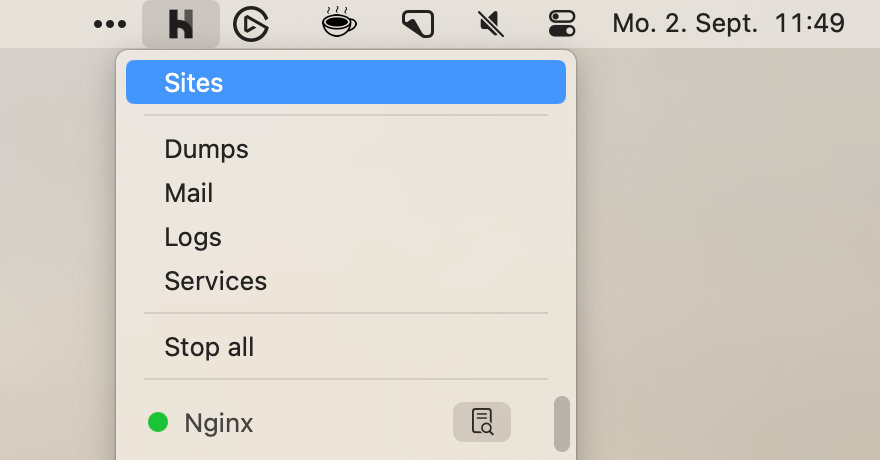
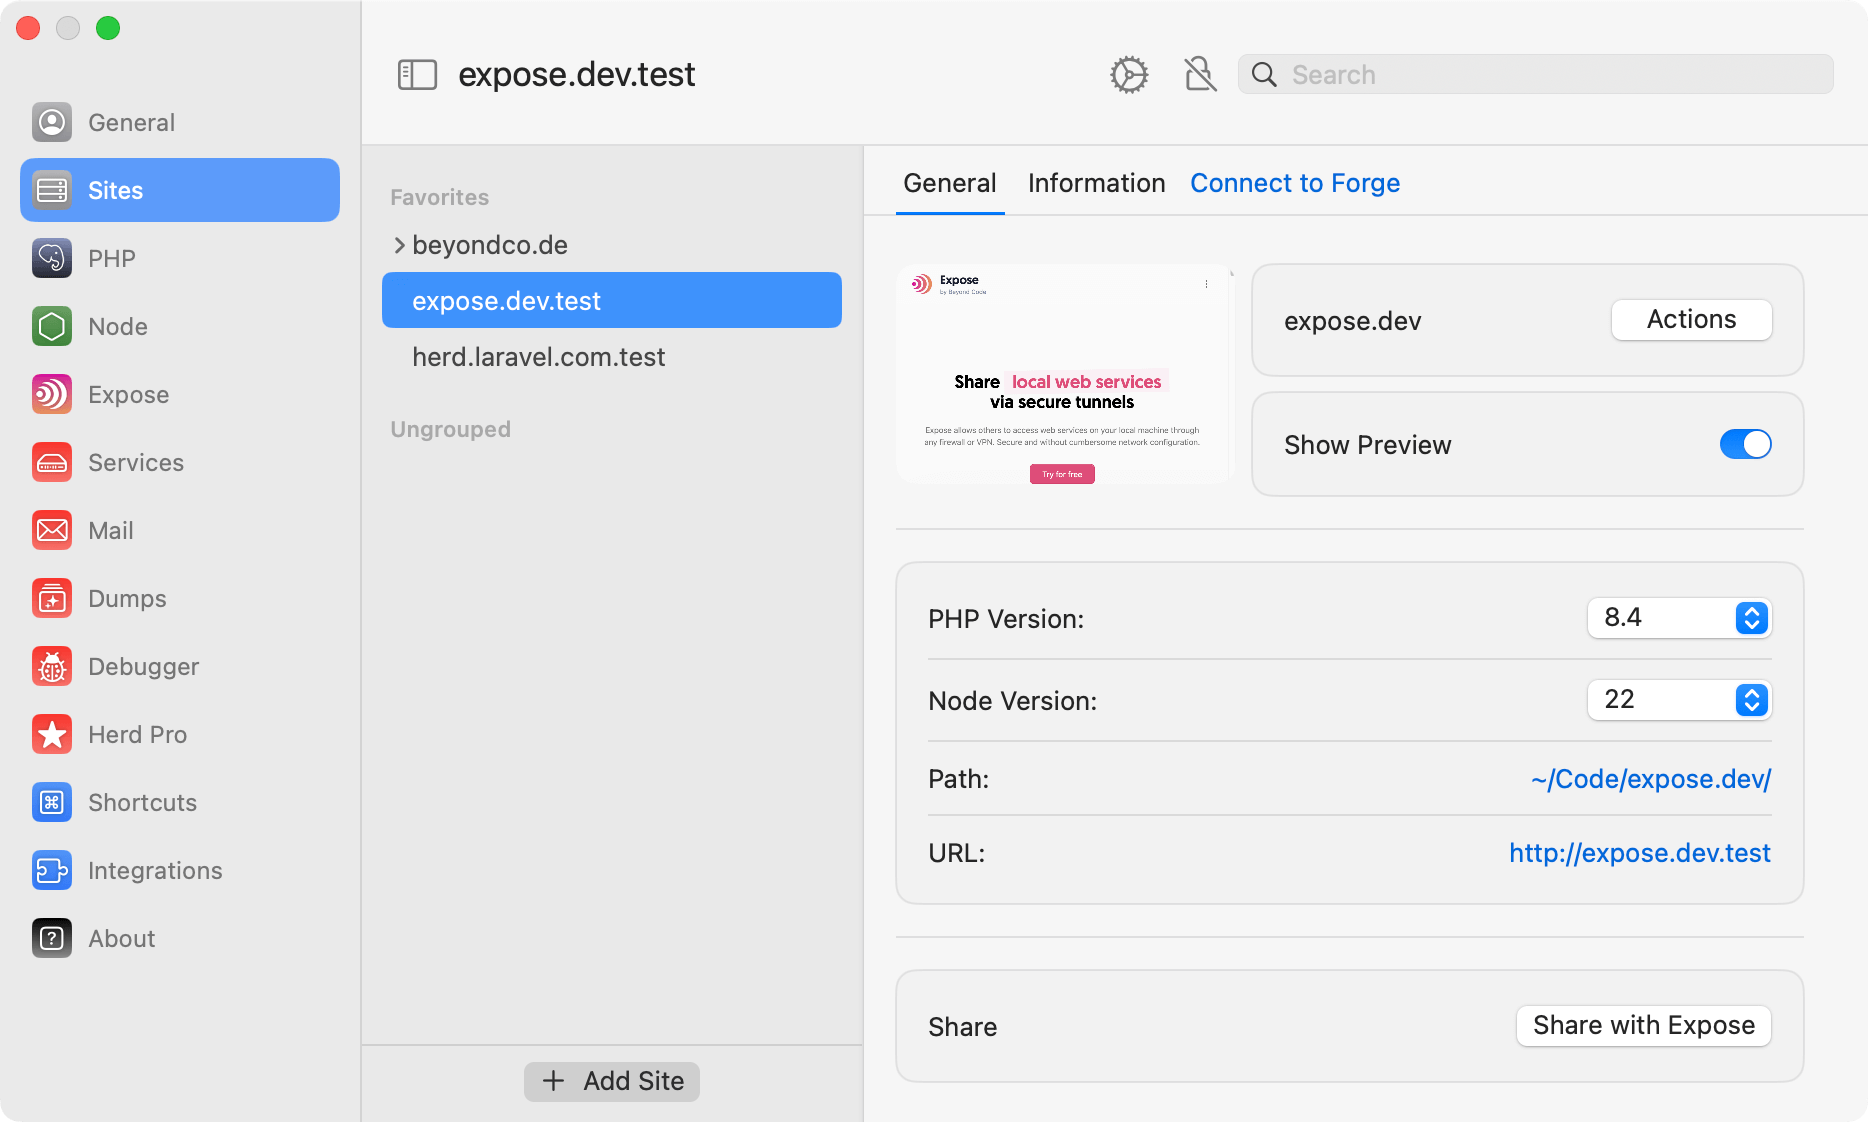
You can manage your sites via the CLI or open the Site Manager via the menu bar icon. This section of the docs explains all features of the Site Manager.

.nvmrc file in your project directory. This tells your terminal to switch to the selected Node and NPM version automatically.
Information
The information tab shows driver specific information about the application. For Laravel applications, that’s the content of thephp artisan about command, but you can customize this with a custom driver.
Integrations
You can connect a Herd site with one or more sites on Laravel Forge. You can learn more about this feature in Forge Integration docs.Site Actions
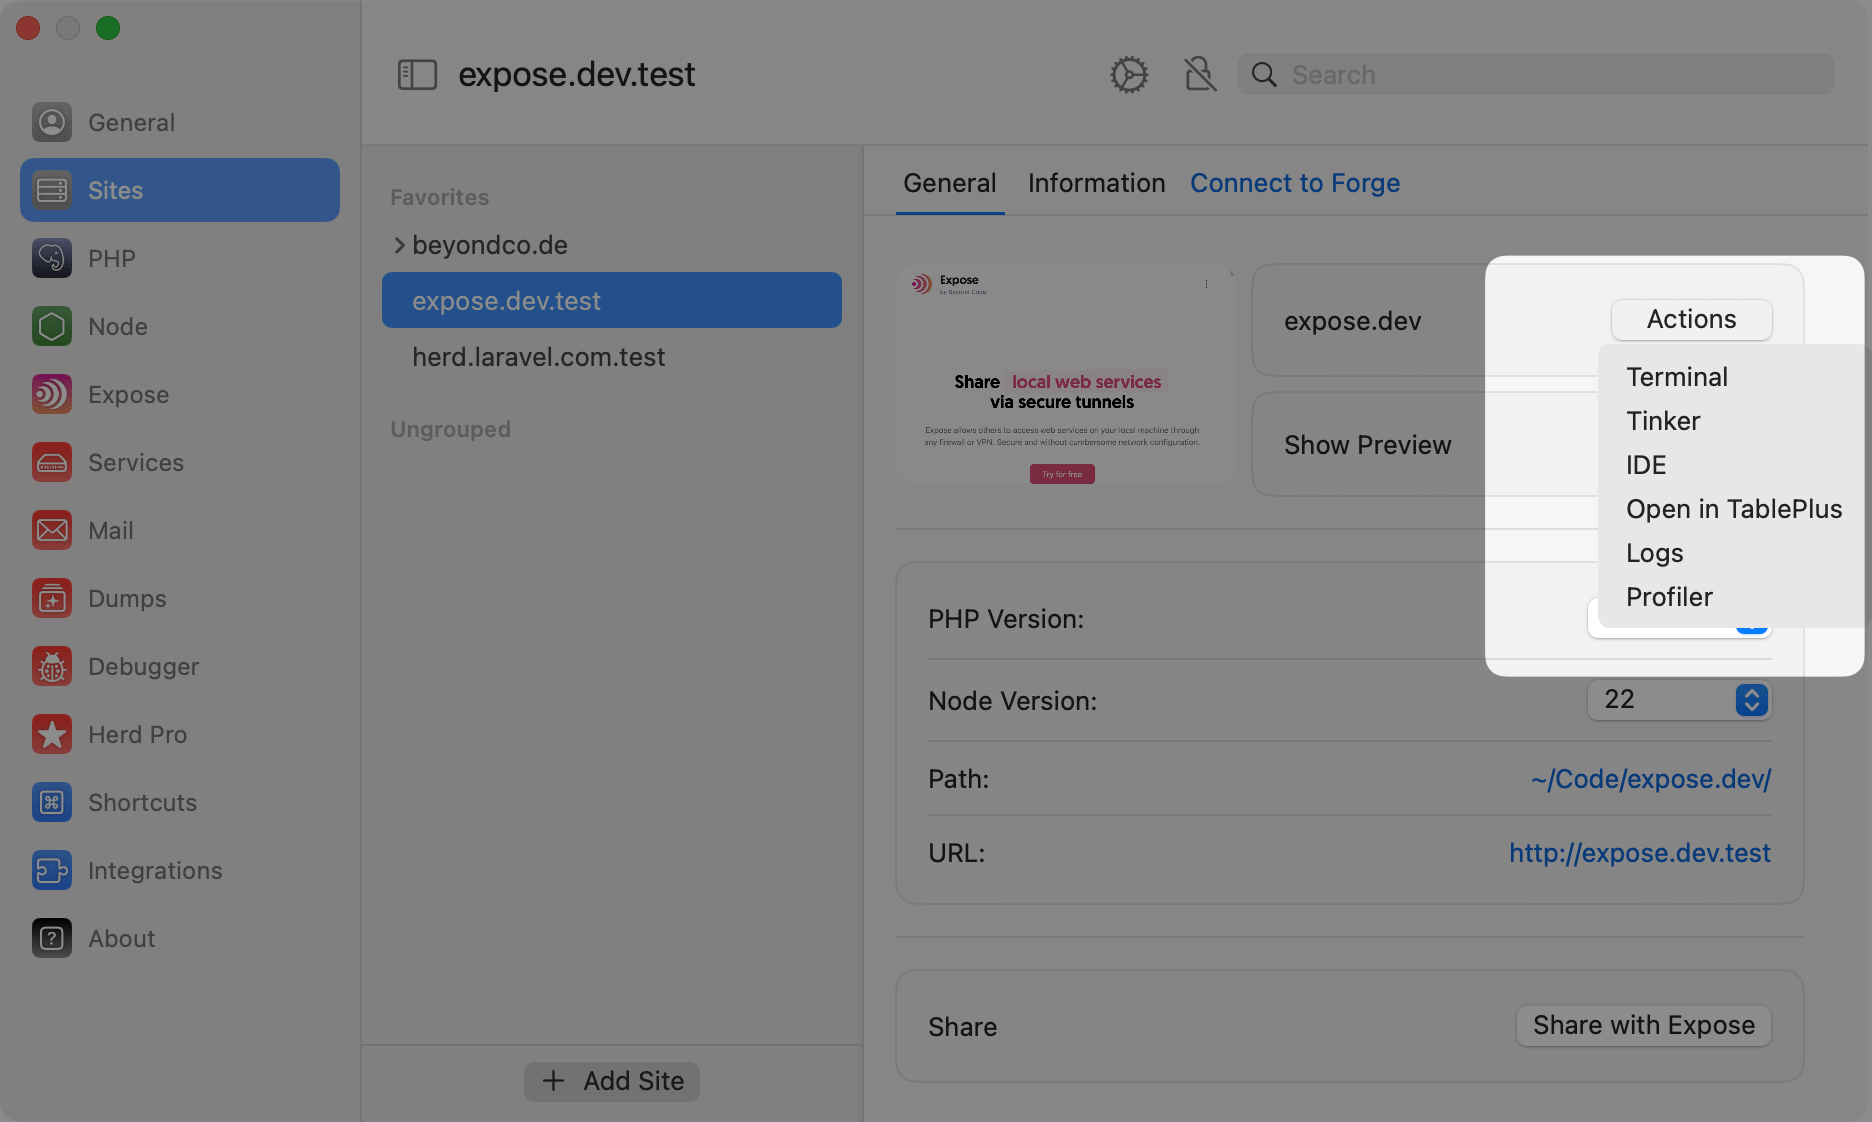
Site Actions are like shortcuts from the site manager. They allow you to open your favorite terminal directly in the project directory, start a Tinker(-well) session or launch your IDE. If you open the database, Herd tries to open the application database with its tables in TablePlus but uses AdminerEvo in case that you don’t use TablePlus. This gives you quick access to the database on the basis of your.env file.
The log action is available for Herd Pro users and opens the Log Viewer that ships with Herd Pro. The Profiler action enables and disables the profiling feature.

Securing Sites
You can serve sites via HTTPS instead of HTTP if your application requires this via Securing Sites.Groups
If you are working with many sites at the same time and don’t want to use multiple parked directories that you add and remove when you need them, you can group sites and they automatically appear in your own site structure on the left side.
Deleting Sites
You can fully delete parked sites from your Herd directory with the trash icon. This is identical to deleting their folder with all files, so use this carefully.Best Practices
It’s a good practice to name your local sites like your domains and subdomains to easily access them in your browser. As an example, the Herd website usually lives in the directory~/Code/herd.laravel.com so that it’s accessible via http://herd.laravel.com.test. The Laravel website is in the directory ~/Code/laravel.com, etc.
Directory names must not start with
www.. Herd strips this part to allow you to access your local site via www.laravel.com and laravel.com.