How to migrate from XAMPP to Herd
If you’re coming from XAMPP and want to switch to Herd, this guide will help you migrate your development environment smoothly. Herd provides a more streamlined development experience with automatic domain handling, multiple PHP versions, and integrated debugging tools.Main Differences
Before diving into the migration process, here are the key differences between XAMPP and Herd:- Herd is optimized for Laravel development (and support all major frameworks)
- Herd uses
.testdomains instead of localhost URLs (e.g.,mysite.testinstead oflocalhost/mysite) - Herd provides automatic domain handling via the HerdHelper service instead of manual virtual hosts
- Herd manages PHP versions per site, allowing you to run different versions simultaneously
- Herd provides built-in debugging tools and service management with Herd Pro
Migration Steps
1. Install Herd
First, download and install Herd from the official website. During installation, Herd will:- Install the HerdHelper service for domain management
- Set up PHP, nginx, and other required tools
- Create a parked directory at
%USERPROFILE%\Herd
2. Migrate Your Sites
1
Move your site files
Move your site files from the XAMPP Replace
htdocs directory to your new Herd directory:your-site with the actual name of your project directory.2
Configure domains
Herd automatically makes sites available via
http://directory-name.test. For example, if your site is in %USERPROFILE%\Herd\my-wordpress, it will be available at http://my-wordpress.test.If you need additional domains or want to point multiple domains to a single site, you can use the herd link command:3. Migrate Databases
1
Export existing databases
Before shutting down XAMPP, export your databases via phpMyAdmin or the MySQL command line:
2
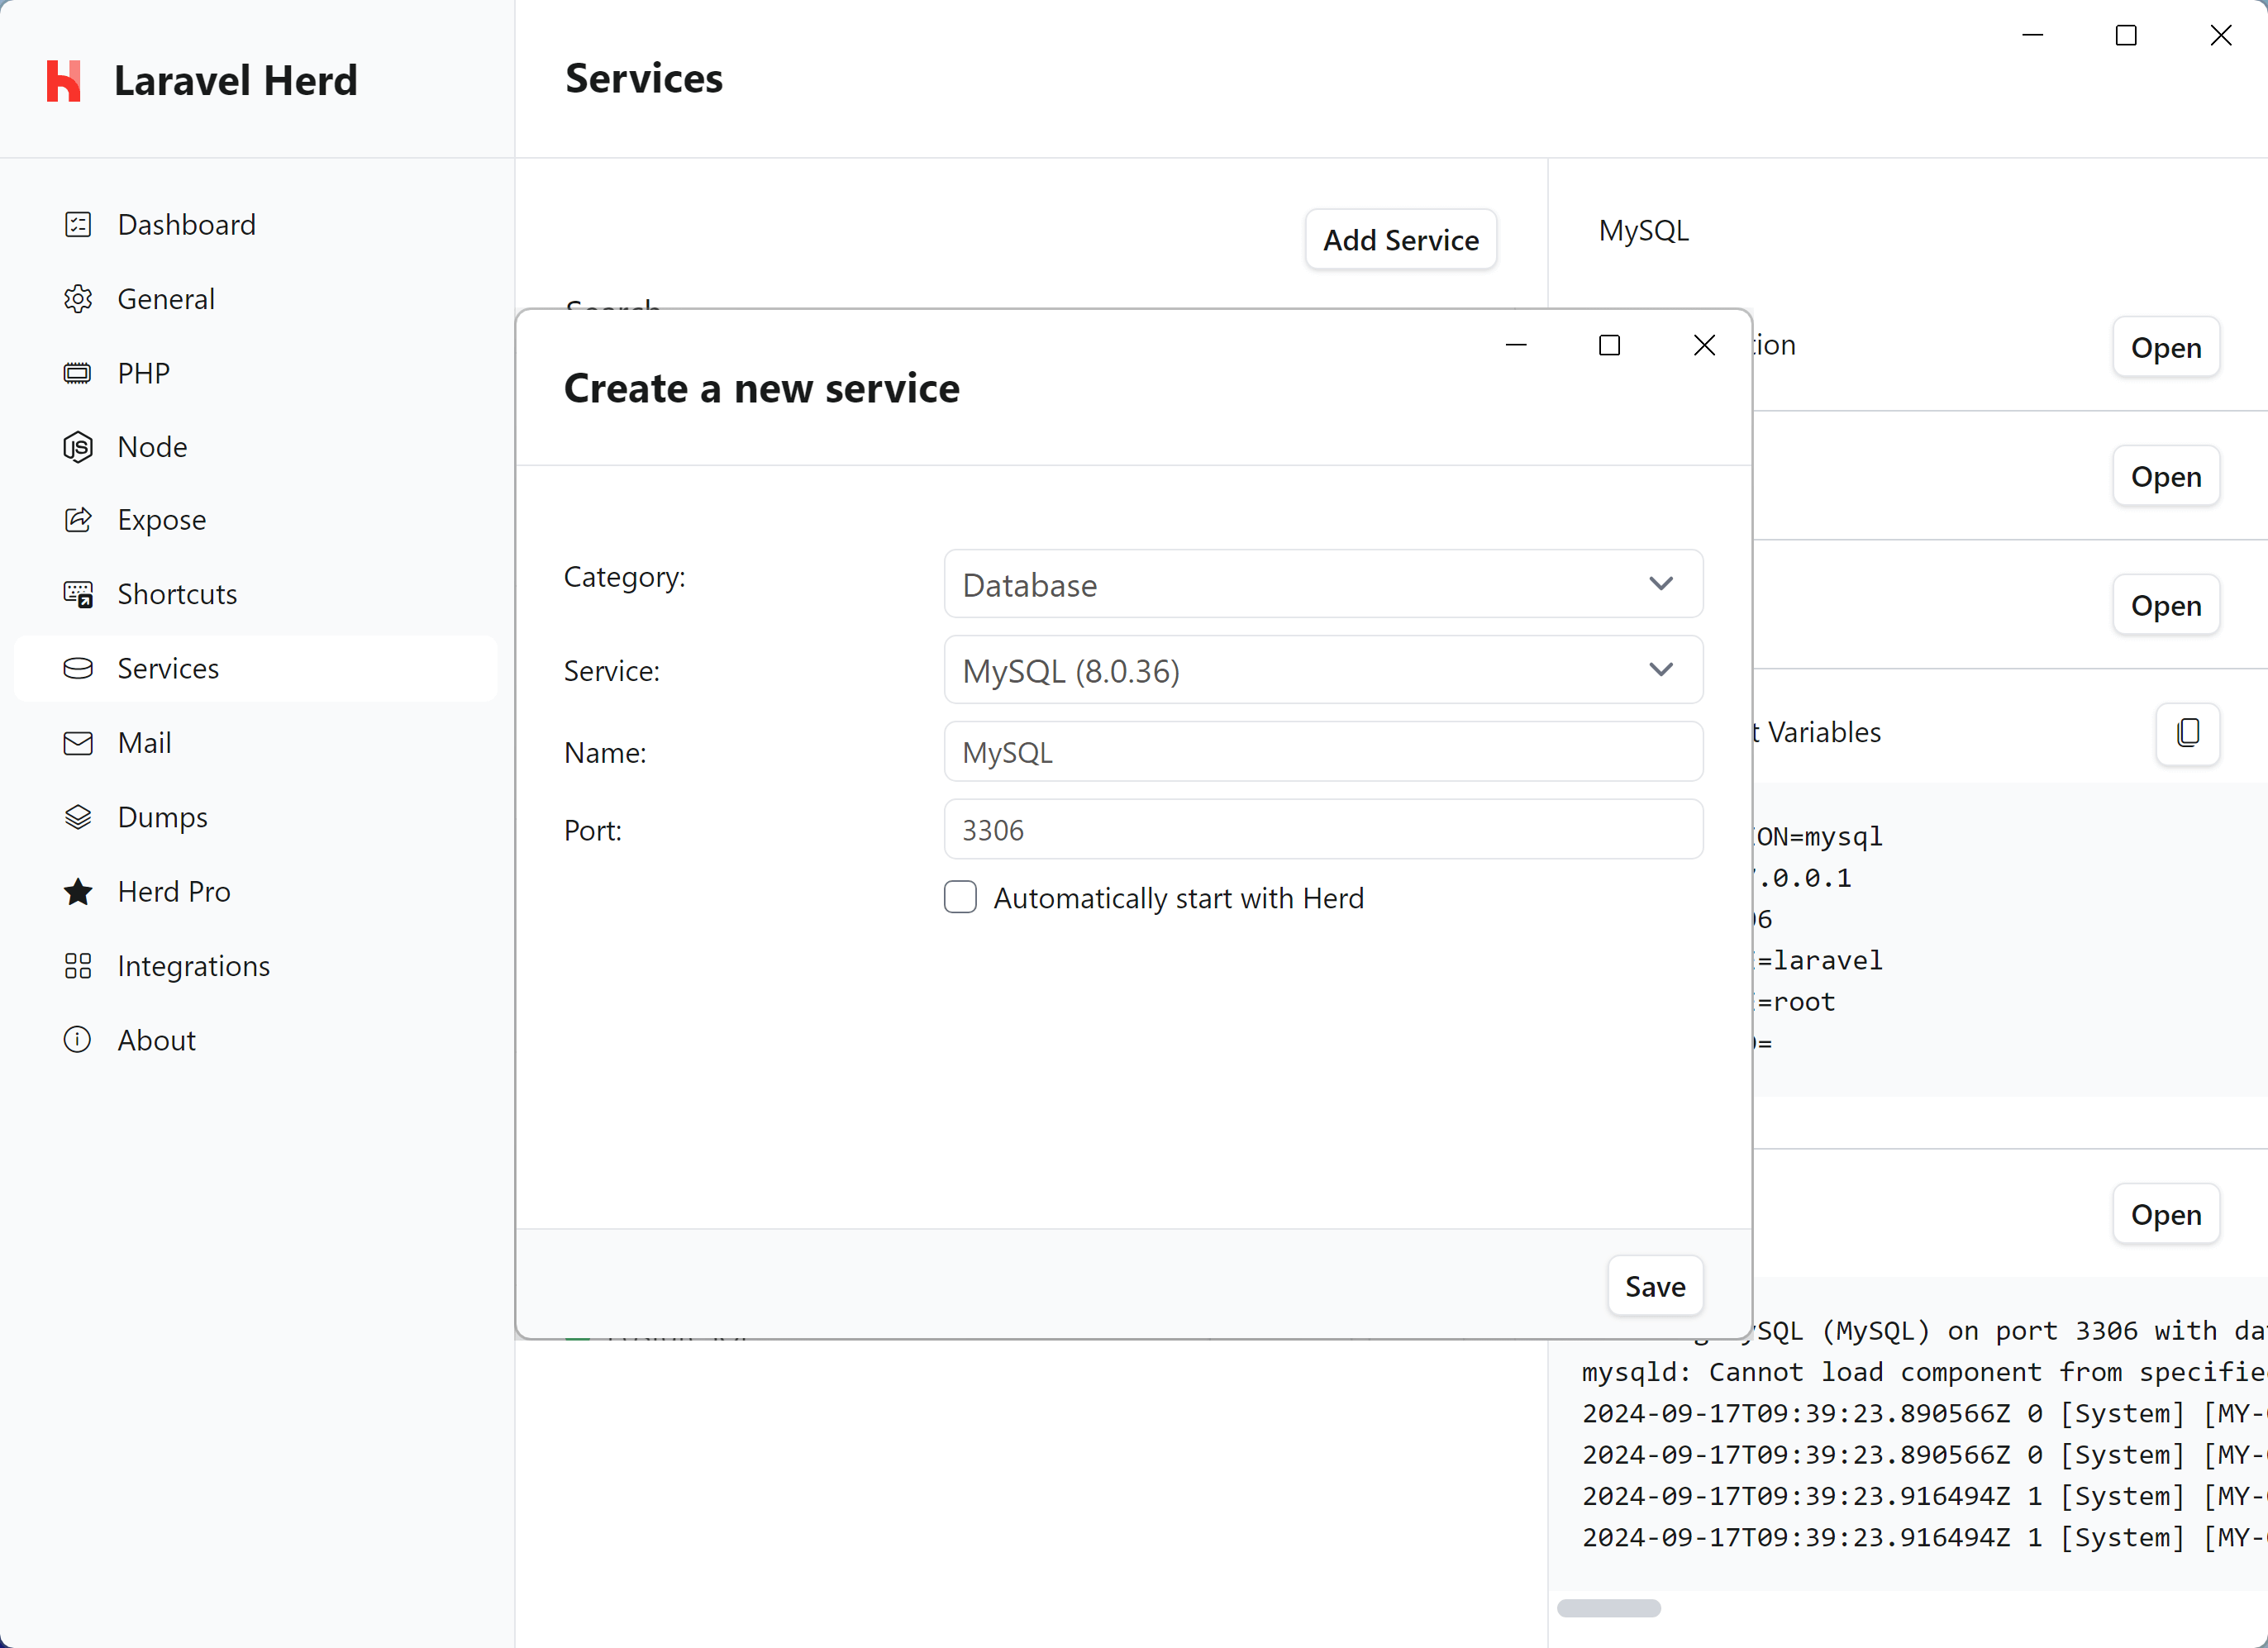
3
Import your databases
After setting up your database service, import your databases via the command line:Or use TablePlus/AdminerEvo which are accessible directly from Herd’s service configuration: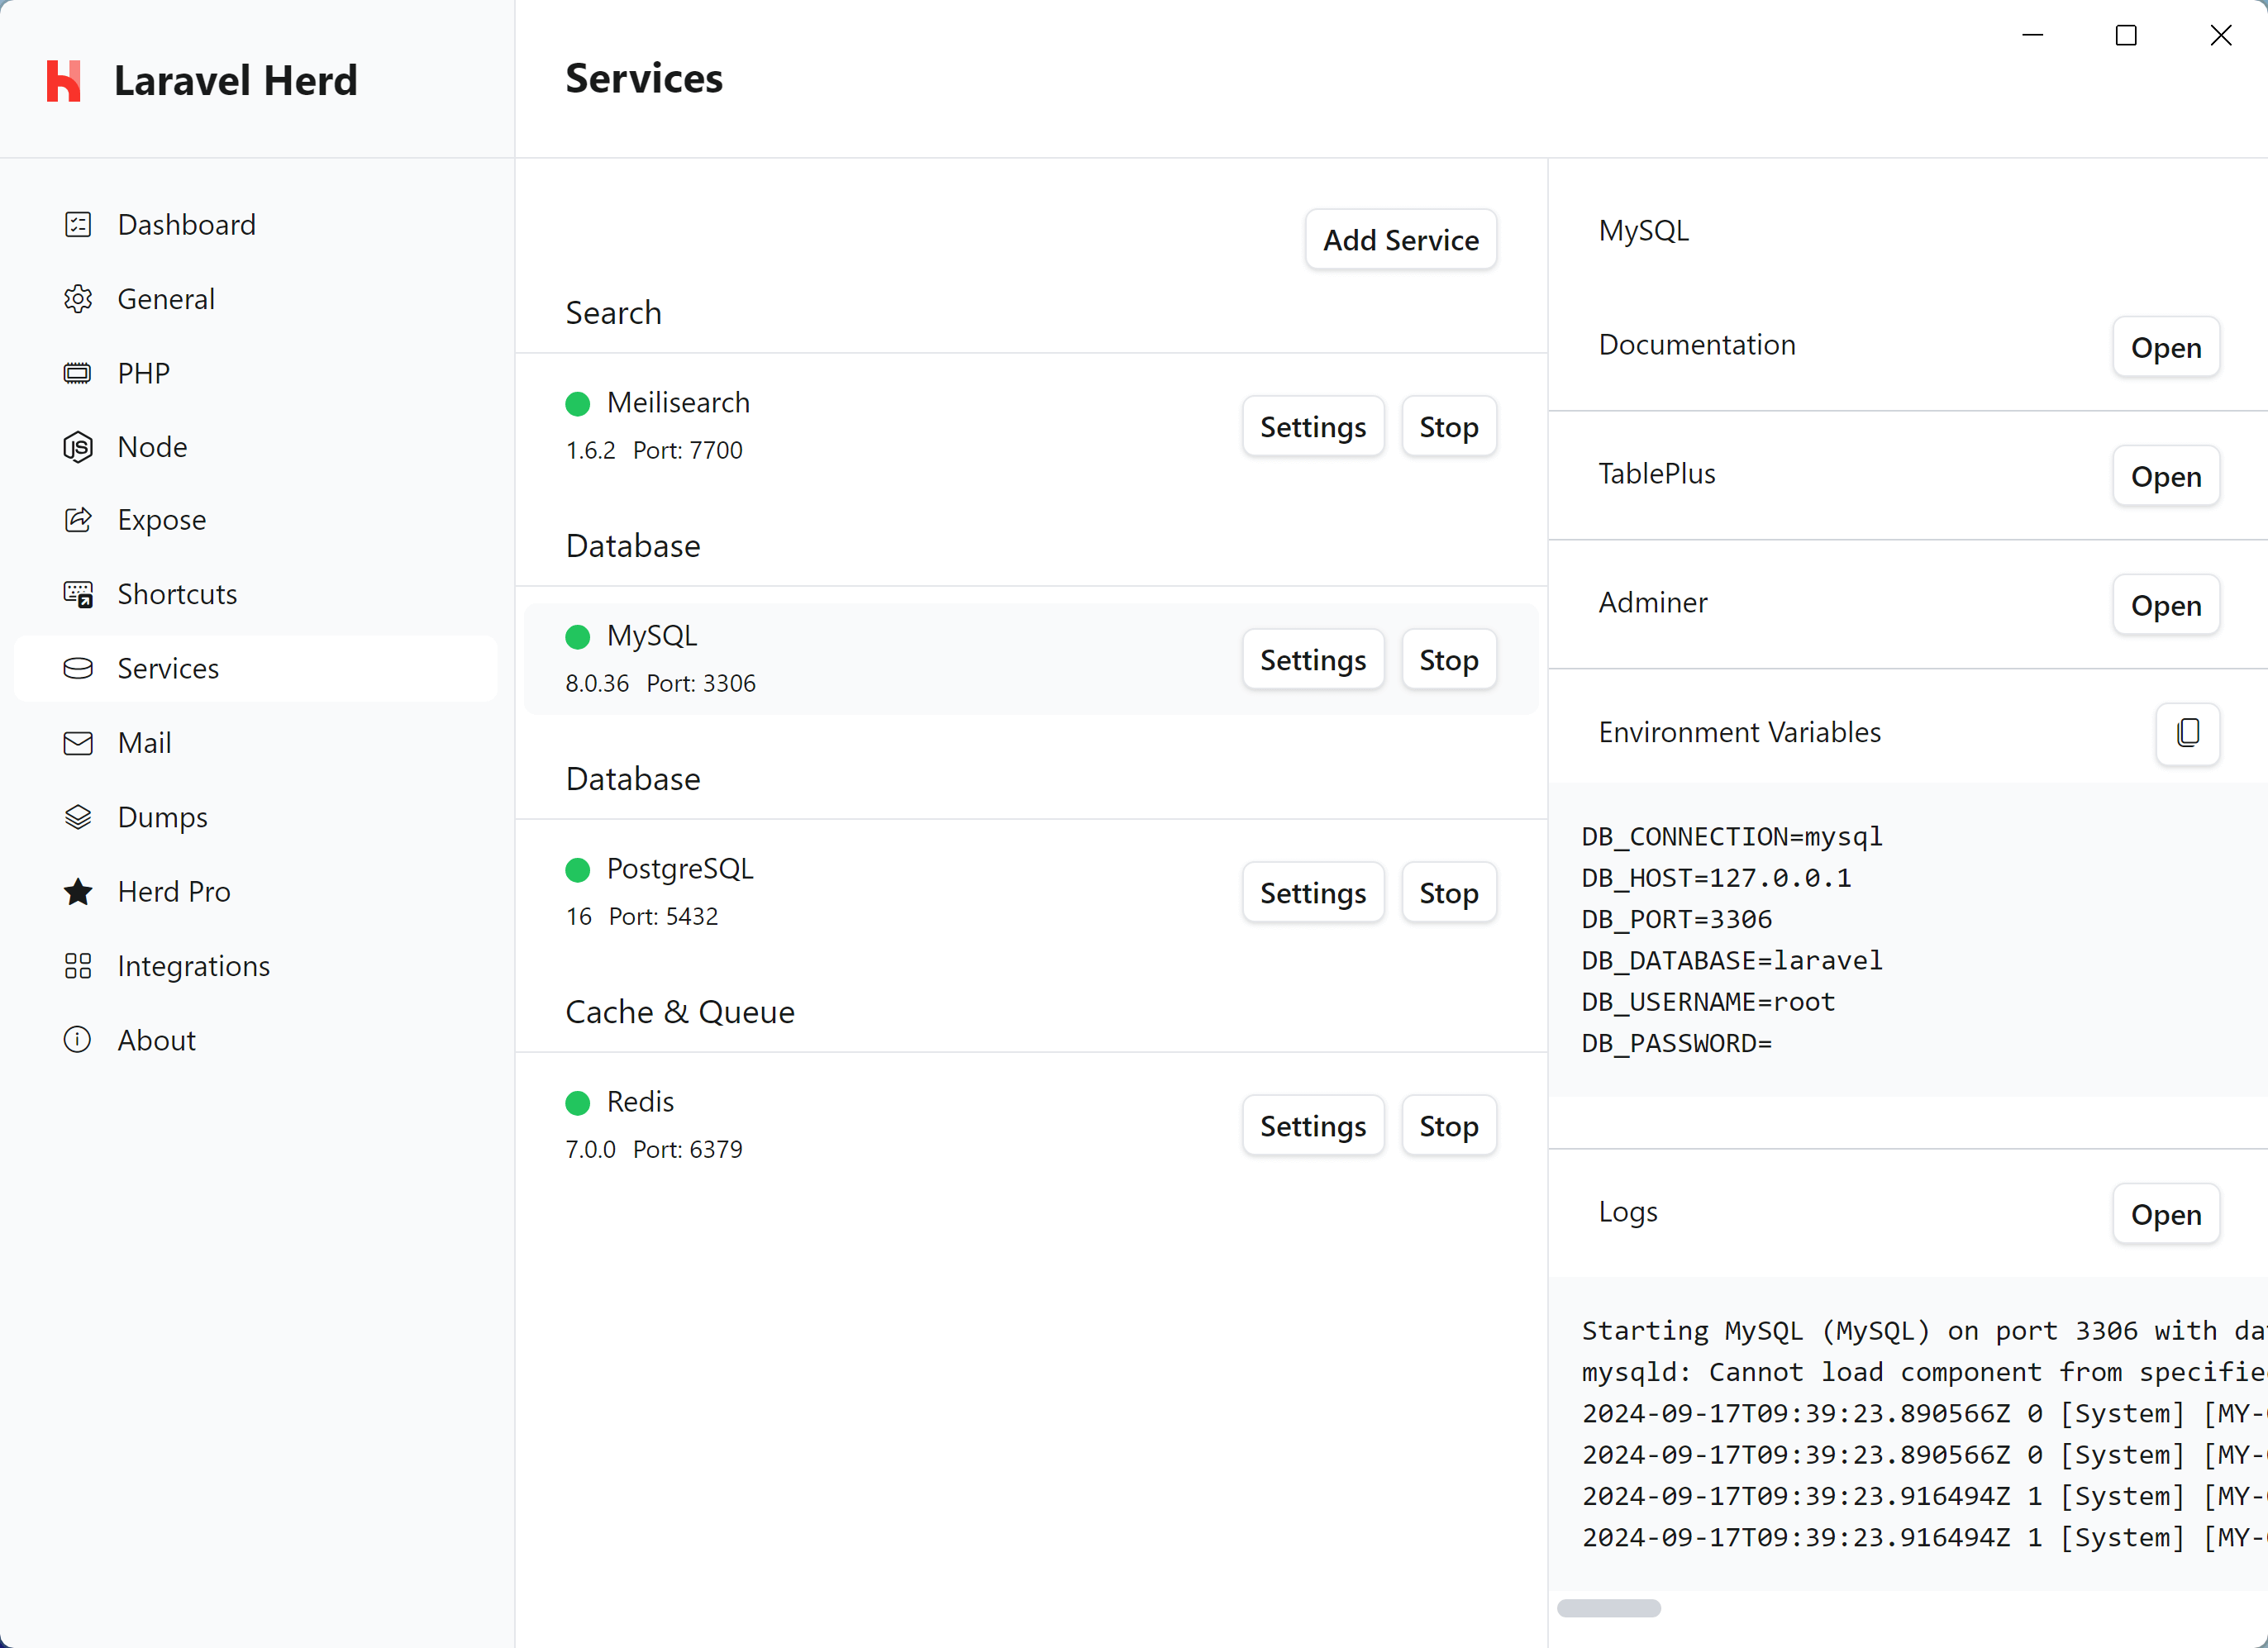
4. Update Configuration Files
Update your site’s configuration files to match Herd’s setup:- Laravel
- WordPress
.env
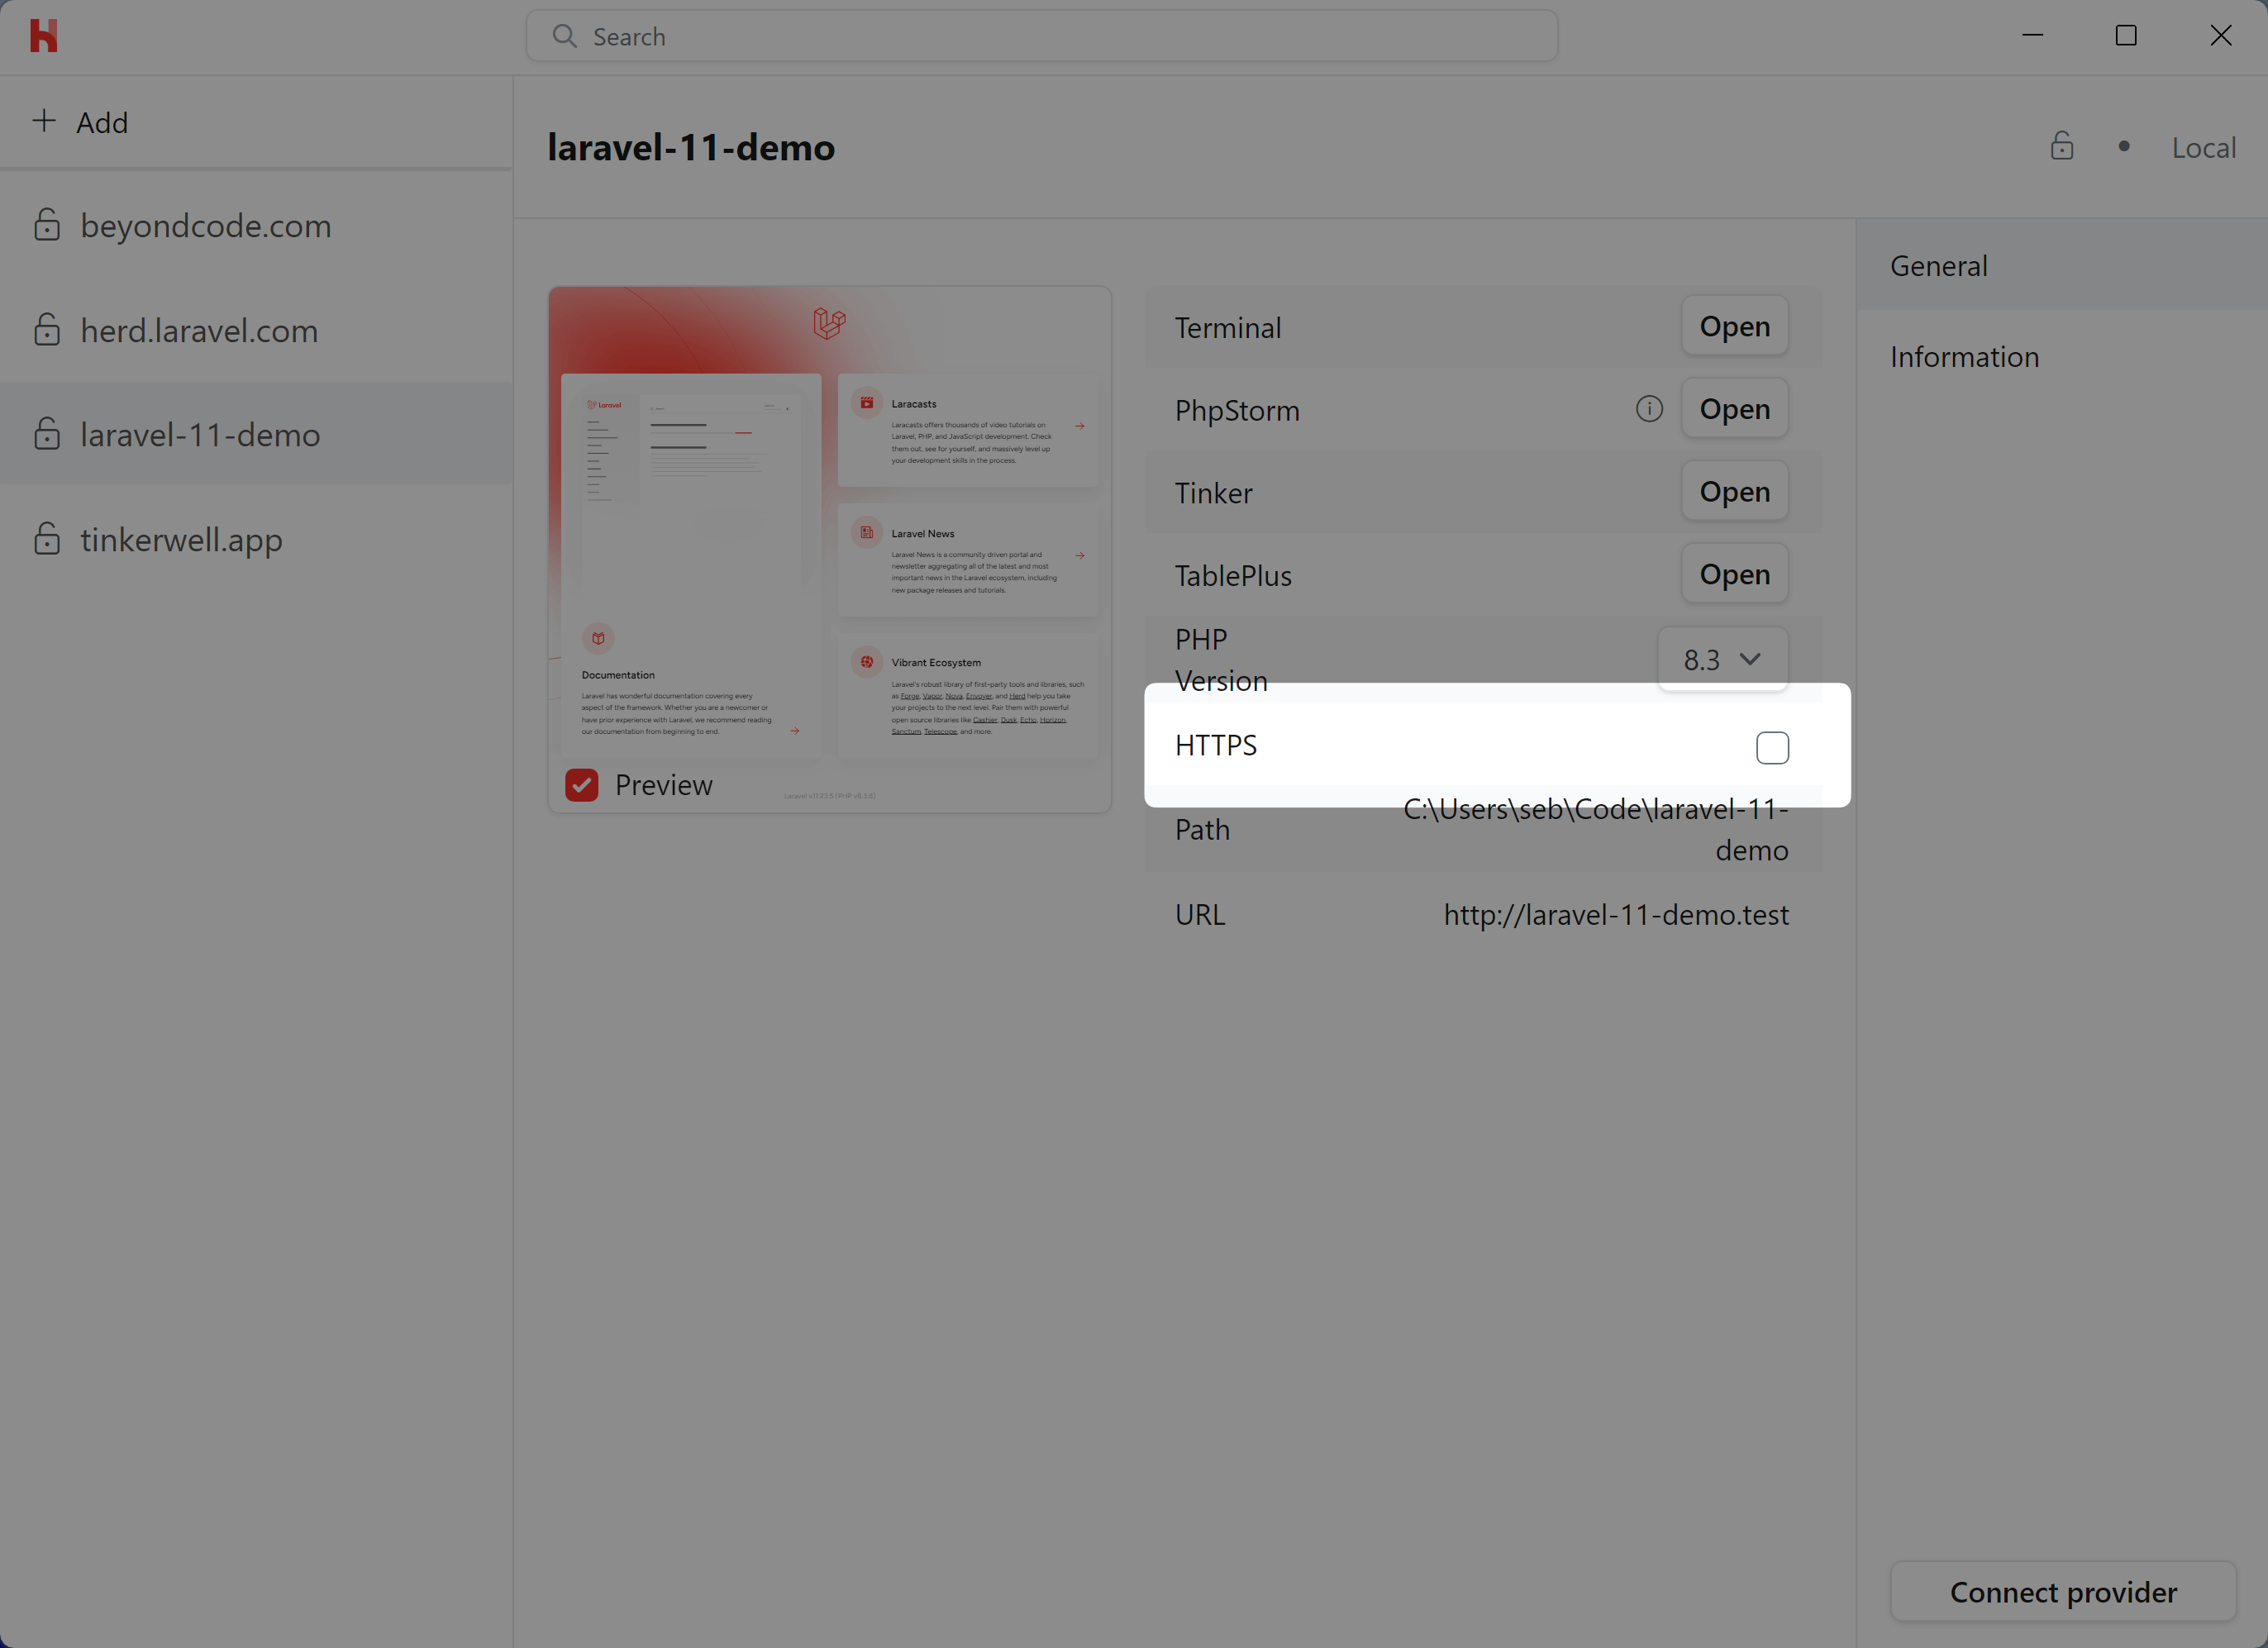
5. Secure Your Sites
If your XAMPP sites used HTTPS, you can secure them in Herd using theherd secure command:
6. PHP Configuration
While XAMPP uses a globalphp.ini file, Herd allows you to:
- Use different PHP versions per site via isolation
- Configure PHP settings via the GUI or by editing version-specific
php.inifiles - Manage PHP extensions for each version independently
7. Virtual Hosts Migration
If you used virtual hosts in XAMPP, you can achieve the same with Herd’s linking feature:- Updates your hosts file
- Configures nginx
- Makes the site available via
http://your-domain.test
Development Tools
Herd Pro provides several tools that improve upon XAMPP’s development experience:- Mail Testing - Built-in mail catcher for testing emails
- Log Viewer - Convenient log viewing and searching
- Dumps - Advanced debugging with request information
- Xdebug - On-demand Xdebug activation
- Service Management - GUI for managing databases and other services
Troubleshooting
If you encounter issues during migration:- Check the common issues documentation
- Verify your hosts file is being updated
- Review the logs for errors
- Ensure the HerdHelper service is running
After Migration
After successfully migrating to Herd, we recommend:- Uninstall XAMPP to avoid port conflicts
- Remove old virtual host entries from your hosts file
- Consider upgrading to Herd Pro for additional development tools
- Familiarize yourself with Herd’s CLI commands