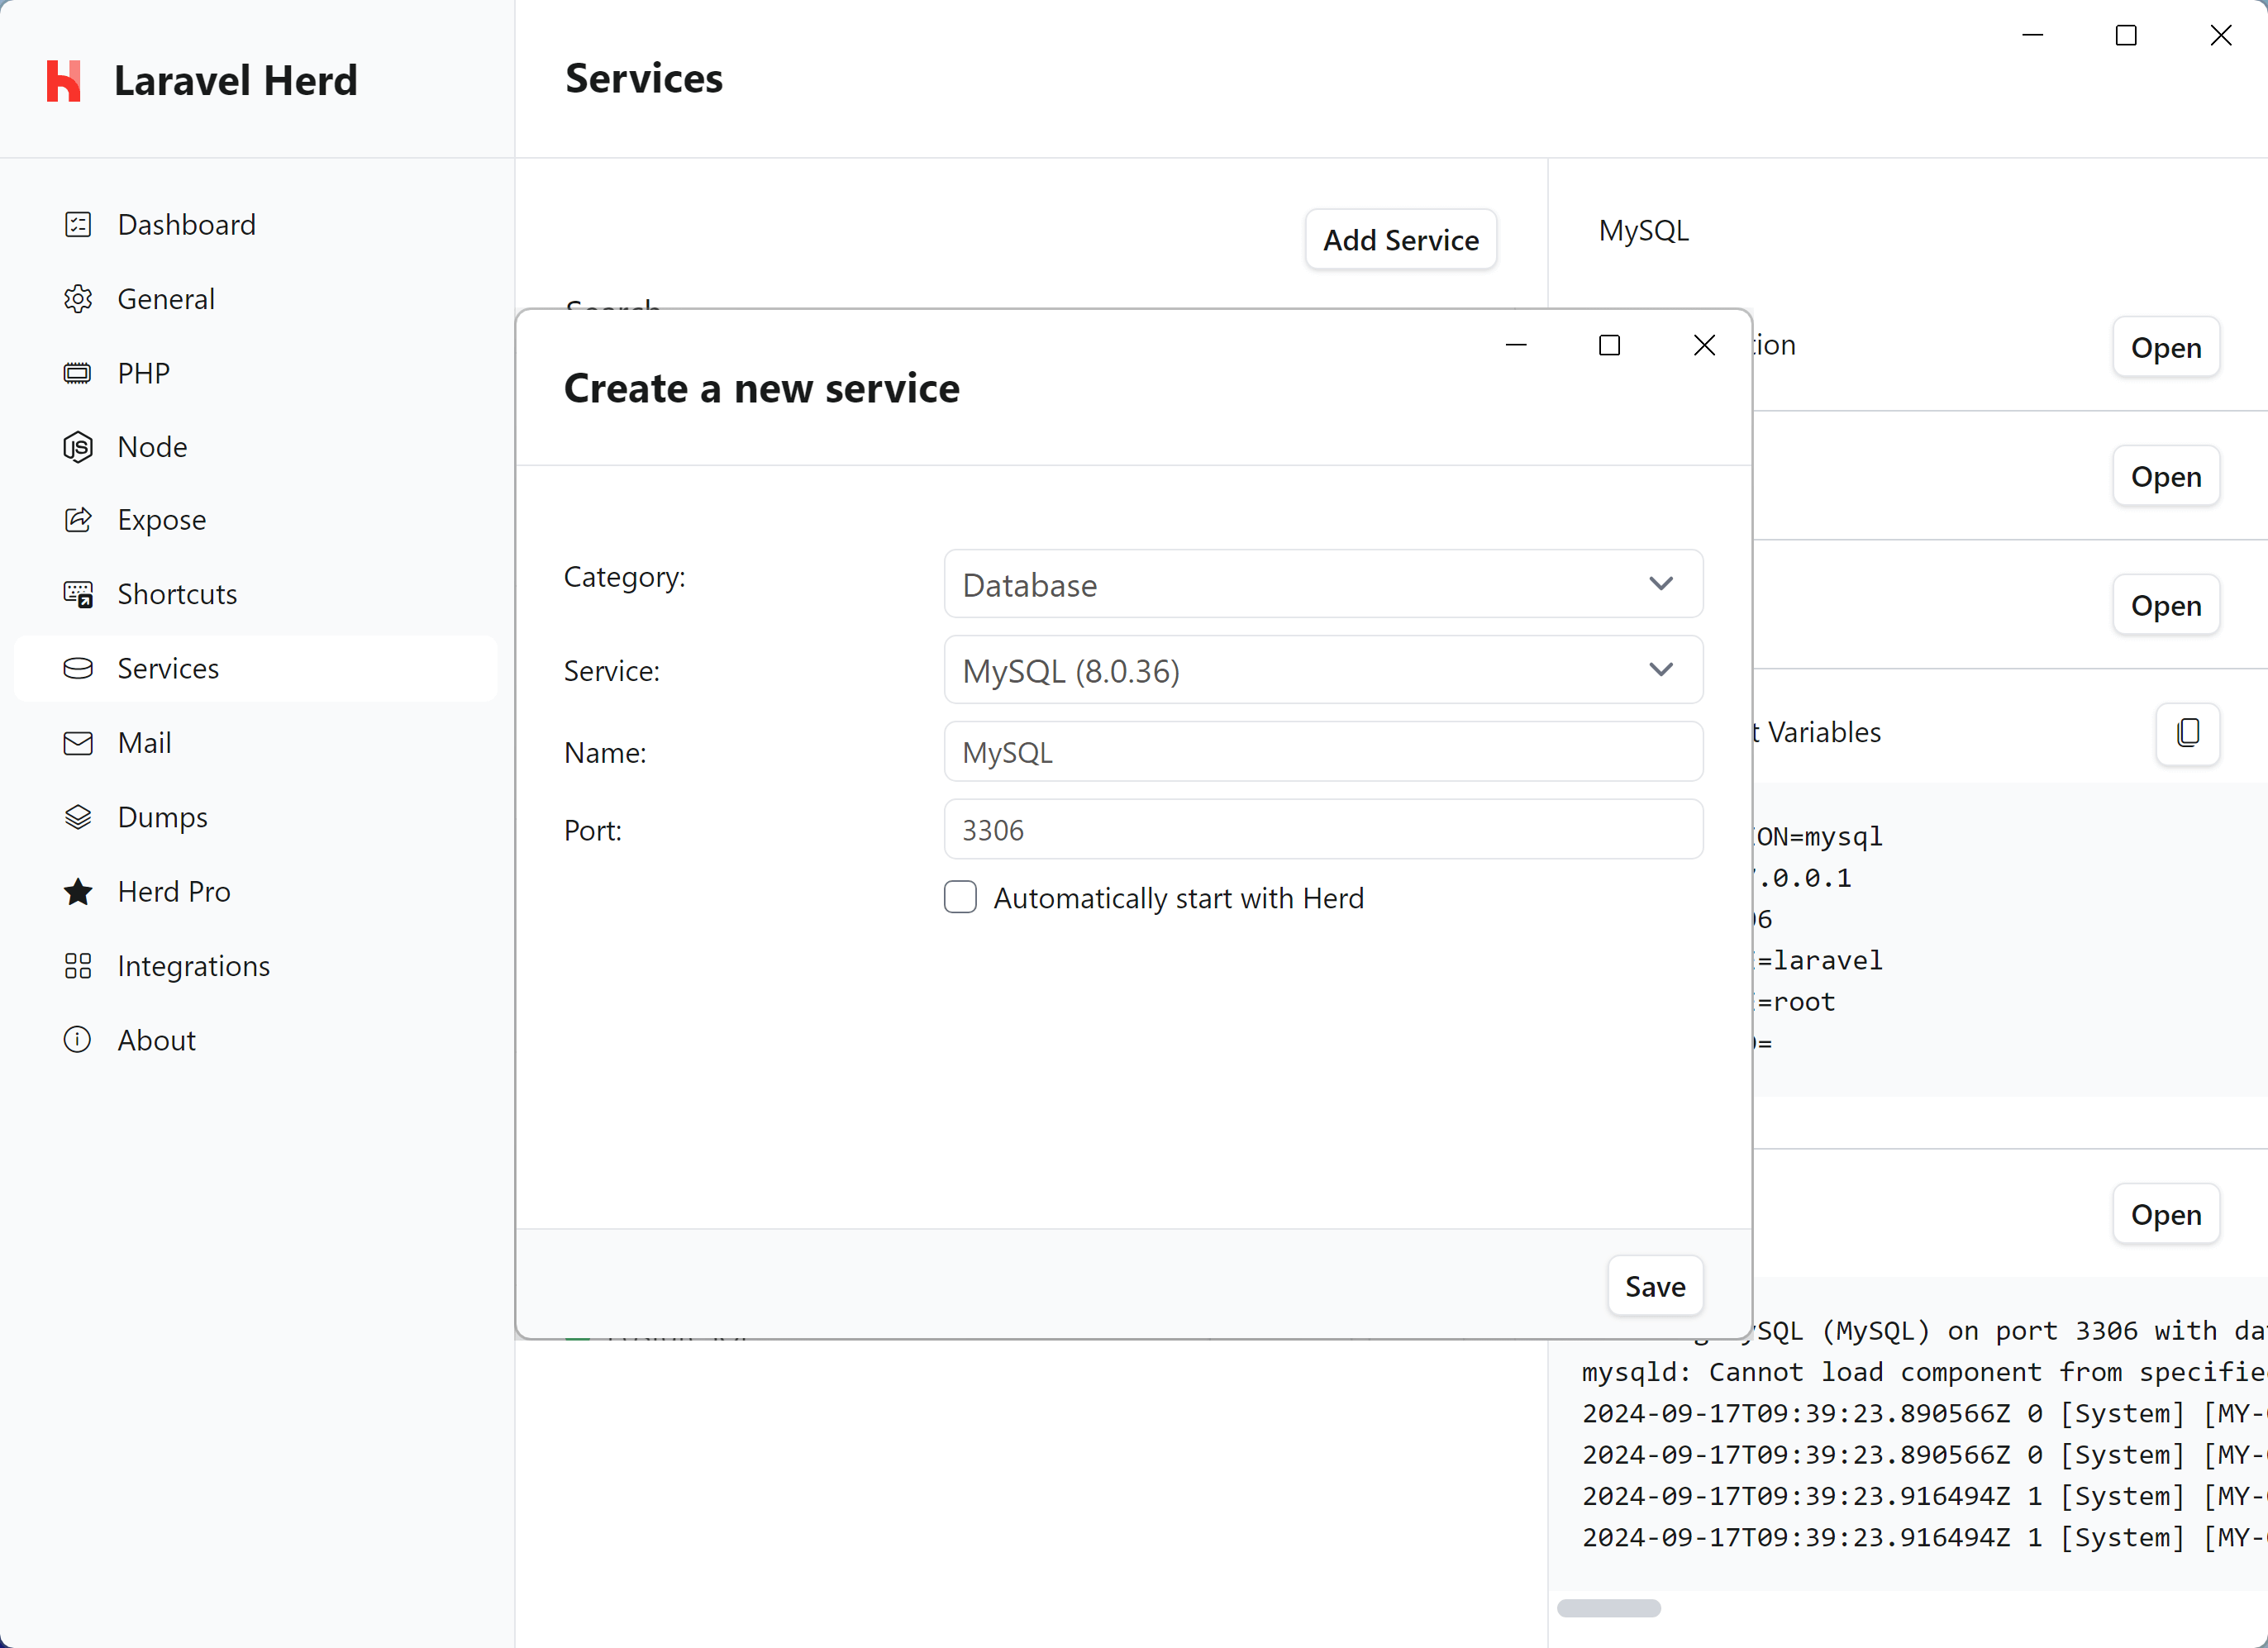
Installing MySQL via Herd Pro
MySQL is the most popular relational database engine for web development, and setting up a database server with a few clicks makes it incredibly easy to follow tutorials or get up and running with a professional setup in minutes. Many popular hosting platforms like Laravel Forge support MySQL databases out of the box, making the switch from local to production a breeze. If you are new to Laravel and want to move from SQLite to a database service, MySQL is the best choice for most applications.
Configuration
Herd provides a sensible default configuration for your MySQL instance that works seamlessly for new setups, and you can change the port of the service to run it in parallel to existing installations on your machine. Enabling the autostart option automatically starts a service instance when you start Herd. If you want to modify the settings of the database, you can right click the service in the settings and open its data directory. In this data directory, there is amy.cnf that this specific MySQL instance loads on startup.
Make sure to restart the service if you make changes to this configuration.
Creating databases
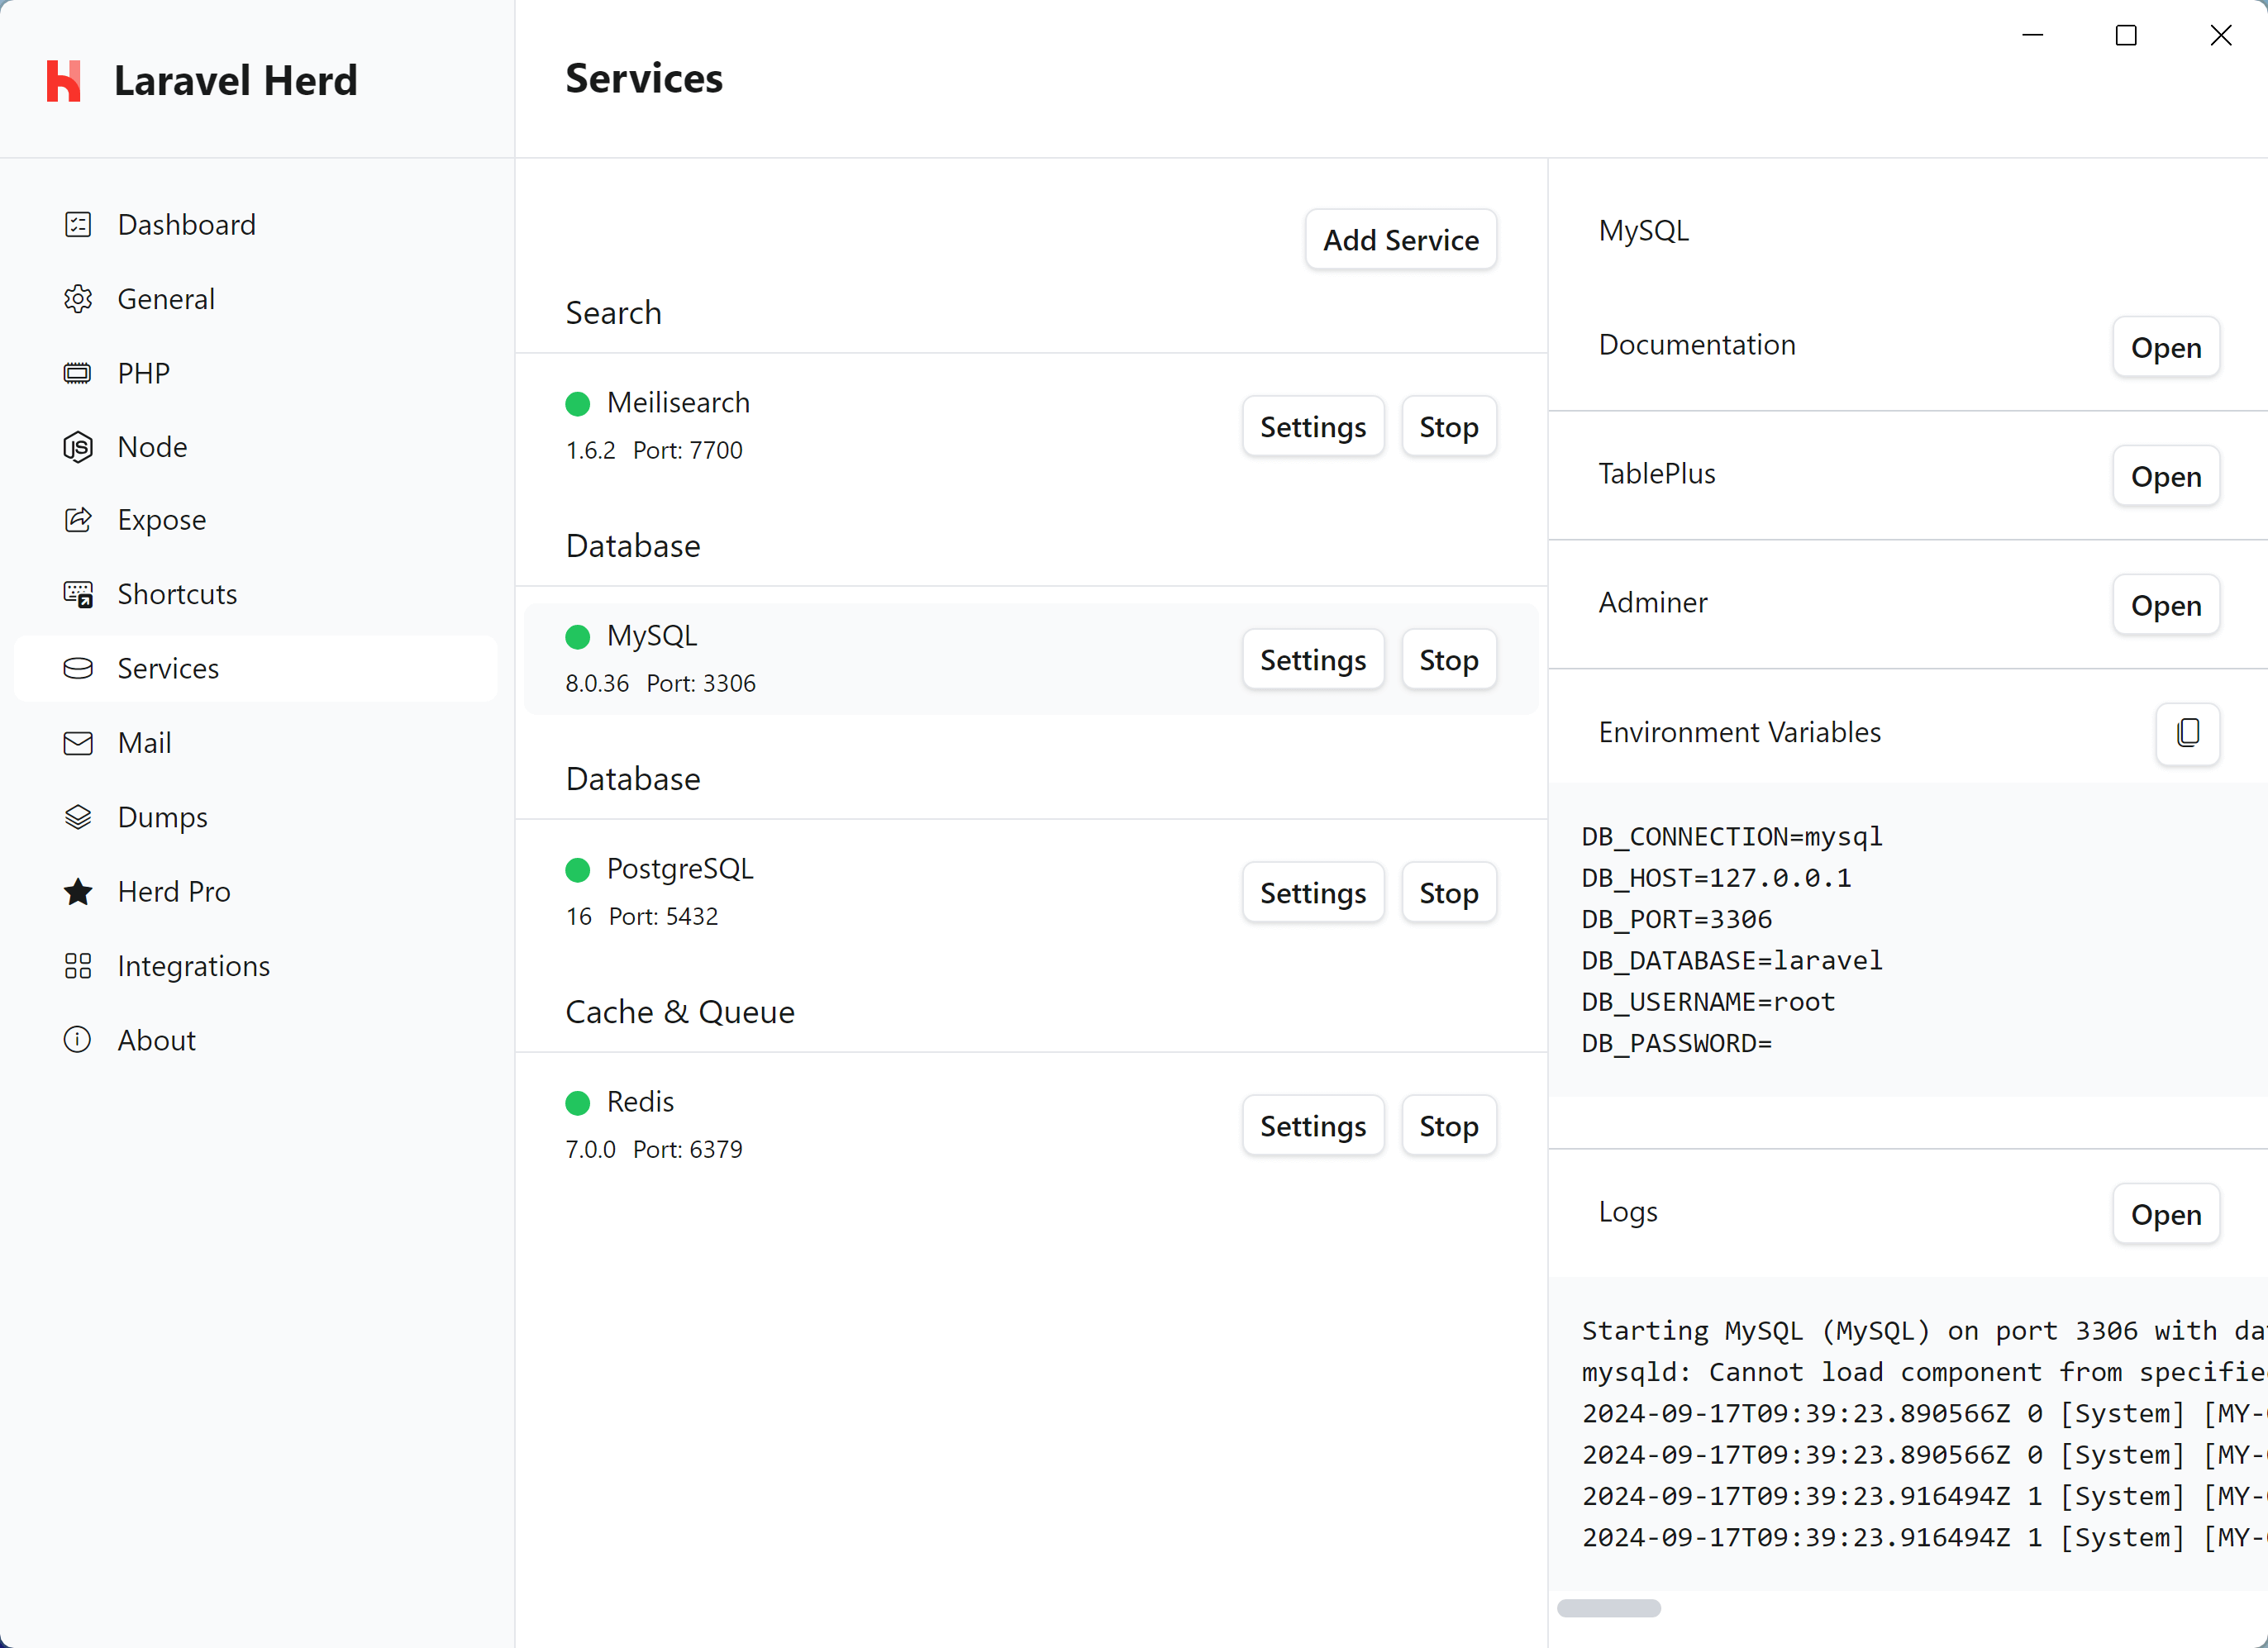
While Laravel applications can create a database when running the migrations for the first time, it’s a good practice to set up the database within the database instance yourself. The service details on the right side of the selected service allow you to open TablePlus or AdminerEvo with a single click. Herd automatically detects TablePlus on your machine and provides a connection string to access the database instance. If you don’t use TablePlus, it opens AdminerEvo where it inserts the correct login credentials for you.
Connecting from your Laravel application
To connect your application to the server, you can use the credentials that are listed next to the running service in the settings, or you can use the ones below.Database service migrations
Whether you set up a newer version of MySQL or migrate from existing instances on your machine, the most comfortable way is to use a database client like TablePlus to export and import the database tables.Connecting via CLI
If you want to access your MySQL instance via the command line or use squashed migrations, you need to add themysql binary to your path. The CLI tool it at the following location:
Powershell
Command Prompt (CMD)
Versions
Herd Pro allows you to install the following versions directly from the services tab of the settings. New versions are available regularly.| Service | Version |
|---|---|
| MySQL | 8.4.* |
| MySQL | 8.0.36 |